
Pruning
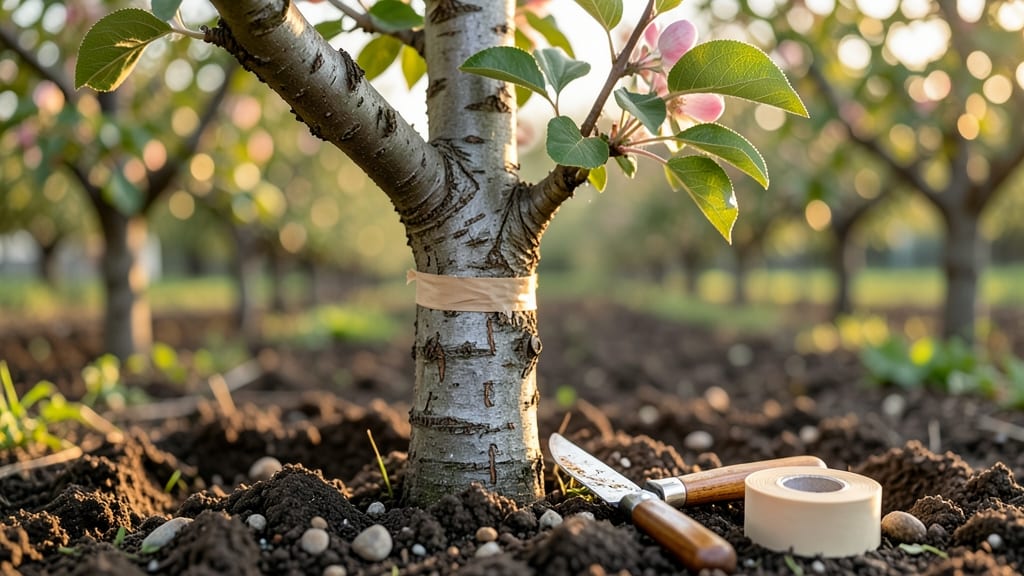
Grafting a tree lets you combine the best traits of two plants—strong roots from one, desirable fruit or flowers from another. 🌳 I’ve grafted apple trees that now produce varieties I’d never find locally, and the process is far simpler than the myths suggest.
The key is timing, sharp tools, and patience as the two pieces heal together.
You’ll need just a few supplies: a clean grafting knife, grafting tape or rubber bands, and compatible scion (top) and rootstock (bottom) wood. Most fruit trees and many ornamental varieties can be grafted, but research species compatibility first—some, like maples, are famously stubborn.
The right tools make all the difference, especially when cutting clean, precise angles.
Once you’ve made your cuts—whether whip-and-tongue or cleft—wrap the graft tightly with tape to hold the cambium layers together. Place the tree in a shaded, humid spot for a few weeks while the union forms.
You’ll know it’s working when new growth appears at the graft line, signaling success. The payoff? Trees that bear fruit years earlier than seeds would.
This method works for backyard orchards, heirloom varieties, or even reviving old trees. Start with easy species like apples or pears, and soon you’ll be experimenting with your own combinations. The first graft might feel nerve-wracking, but the results are worth every careful cut.
📚 In This Guide
- What you need
- Instructions
- Tips and common mistakes
- Wrapping up and next steps
What you need
- ● Grafting knife or budding knife – A sharp, clean knife with a blade between 3-5 inches (for whip-and-tongue or cleft grafting).
- ● Pruning shears – For trimming scion wood and rootstock.
- ● Grafting tape or rubber bands – ¼-inch wide for securing grafts (avoid plastic wrap—it can suffocate the graft).
- ○ Pruning sealant (optional but helpful) – A wax-based product like Tree-Tape or Dormant Pruning Sealant to protect cuts.
- ● Scion wood – Healthy, disease-free cuttings (typically ¼-inch thick and 4-6 inches long) from the tree you want to propagate.
- ● Rootstock – A compatible, established tree or branch (e.g., apple rootstock for apple scions).
- ● Hand lens or magnifying glass – For inspecting cambium layers and ensuring perfect alignment.
- ● Rubbing alcohol or bleach solution – To sterilize tools and prevent contamination.
- ● Grafting clips or binder clips – For temporary support while grafts heal.
- ● Pruning paint – To seal larger cuts on the rootstock.
- ● Choose the right time—late winter or early spring (dormant season) for most grafts.
- ● Ensure compatibility—scion and rootstock must be from related species or cultivars.
- ● Pick a sunny, dry day to minimize stress on the tree.
Step-by-Step instructions for grafting a tree like a pro
Here's my foolproof method for clean, strong grafts that take root every time.
🪴 Step 1: Choose and Prepare Your Scion and Rootstock
Select a healthy scion (the branch you're grafting) with 3-5 buds and a diameter matching your rootstock. I always cut scions just after a bud—this ensures the graft will grow in the right direction. For rootstock, choose a young, disease-free sapling with a smooth, ½- to ¾-inch diameter stem. Clean both with rubbing alcohol to kill any surface bacteria that could infect the graft.
Make a clean cut on the scion at a 45-degree angle, about 2-3 inches long. The cut should expose the cambium layer—that green, growth-producing layer just under the bark. If your knife slips and cuts too deep, start over. A sloppy cut means a weak graft. Here's the thing—practice on scrap wood first if you're nervous. Precision matters more than speed.
✂️ Step 2: Make the Graft Cut on the Rootstock
Slice the rootstock at the same 45-degree angle, matching the length of your scion cut. The goal is to create a tongue-shaped notch where the two pieces will fit together like puzzle pieces. I like to make the rootstock cut slightly wider than the scion—this gives the cambium layers room to align perfectly when you join them. Hold the knife steady and let the blade do the work; sawing motions create jagged edges that heal poorly.
Now comes the critical part: align the cambium layers. Place the scion into the rootstock notch so the green cambium layers touch along the entire length of the cut. If they don't match up, the graft won't bond. A little pressure here—just enough to make contact—but don't crush the delicate tissues. Wrap the joint immediately with rafting tape or parafilm, starting just below the graft and finishing just above it. Leave no gaps; air pockets will kill the graft.
💧 Step 3: Seal and Protect the Graft
Cover the entire graft with grafting wax or sealing compound to create an airtight, moisture-retaining seal. I use a small brush to apply a thin, even layer over the tape, extending about ½ inch above and below the graft. This prevents dehydration and infection. If you see bubbles in the wax, smooth them out immediately—trapped air will dry out the tissues. For extra protection, wrap the entire scion with plastic wrap secured with tape, creating a mini greenhouse effect that keeps humidity high while the graft heals.
Place the grafted tree in a shaded, humid environment with 60-70% humidity and 65-75°F temperatures. A clear plastic bag over the entire plant works well, but check daily for condensation. Too much moisture inside the bag invites rot, while too little causes the graft to dry out. You'll know it's working when you see new growth at the top of the scion in 4-8 weeks. That's your signal the graft has taken!
☀️ Step 4: Monitor and Maintain Until Growth Begins
Keep the grafted tree moist but not soggy—water lightly every 2-3 days until you see new growth. Overwatering now will rot the graft before it has a chance to heal. I like to use a fine mist spray bottle to keep the environment humid without soaking the soil. Once the graft takes, you can gradually reduce humidity by opening the plastic bag for 30 minutes daily, then increasing time by 15 minutes every few days until fully acclimated.
Watch for signs of failure like wilting, yellowing leaves, or oozing sap at the graft site. These mean the graft isn't bonding properly. If this happens, don't panic—sometimes a second chance works if you clean the area and reseal. Success often comes down to patience. I've seen grafts take in 3 weeks and others wait 10 weeks—timing varies by species and conditions. Real talk: Your first few grafts might fail, but each attempt teaches you what to adjust next time.
Tips & tricks for perfect tree grafting
These simple strategies will help you avoid common mistakes and boost your success rate with every graft.
Precision Cutting: For Step 1, use a sharp grafting knife or pruning shears—dull blades tear the cambium layer, which is essential for bonding. I've ruined more grafts than I can count from jagged cuts. Practice makes perfect: Cut a few pieces of wood first to get comfortable with that 45-degree angle. The cambium should look like a smooth, green ribbon when exposed—this is your target.
Cambium Alignment: In Step 2, when aligning the cambium layers, think of them like puzzle pieces. Even a tiny gap can prevent the graft from taking. I like to gently press the scion into the rootstock notch while rotating it slightly until I feel the cambium layers meet along the entire length. A quick visual check from all angles confirms they're perfectly aligned—no gaps, no overlaps.
Sealing Secrets: For Step 3, don't skimp on the grafting wax. Apply a thin, even layer over the entire graft area—this creates a protective barrier against dehydration and infection. I've seen grafts fail because people only covered the exposed cut. Extend the wax at least ½ inch above and below the graft to ensure complete protection. Smooth out any bubbles immediately with a clean brush.
Humidity Control: Maintaining 60-70% humidity during the healing phase (Step 4) is crucial. If your environment is too dry, the graft will desiccate before it has a chance to bond. I use a clear plastic bag over the entire plant, but check daily for condensation. Too much moisture causes rot, so open the bag for 30 minutes daily to let excess humidity escape. A simple hygrometer helps monitor levels accurately.
Pro Tips for Graft A Tree
- These simple strategies will help you avoid common mistakes and boost your success rate with every graft.
- Precision Cutting: For Step 1, use a sharp grafting knife or pruning shears—dull blades tear the cambium layer, which is essential for bonding.
- Cambium Alignment: In Step 2, when aligning the cambium layers, think of them like puzzle pieces.
Frequently asked questions
Got questions about grafting trees? You’re not alone—this technique can feel tricky at first! Below, we’ve answered the most common questions to help you feel confident before you start.
What’s the best time of year to graft a tree?
The ideal window is late winter to early spring, just as buds swell but before leaves emerge. This timing ensures the tree is dormant but ready to heal quickly. For tropical or evergreen trees, grafting can work year-round, but cooler months still reduce stress. Pro tip: Avoid grafting during extreme heat or frost!
Do I need special tools, or can I use household items?
While grafting knives and grafting tape are ideal, you can improvise with a sharp, sterilized blade (like a utility knife) and seal cuts with wax or even plastic wrap in a pinch. Just ensure your tools are clean to prevent disease. Warning: Avoid dull tools—they crush bark instead of making clean cuts!
What if my graft fails? How do I know it’s not working?
Signs of failure include wilting, darkening, or drying out of the scion (top part), or if the graft union doesn’t heal into a smooth bump within 4–6 weeks. If the tree looks healthy but the scion dies, try again with a different stock or scion. Troubleshooting: Check for pests, poor fit, or drying—keep the graft moist until it takes!
Can I graft any tree to any other tree?
No—grafting works best between trees of the same genus (e.g., apple to apple) or closely related species. For example, peach and plum can graft together, but an apple won’t take to an orange tree. Research compatibility first to save time and effort!
How do I protect my graft from pests or disease?
Start with healthy, disease-free stock and scions. After grafting, wrap the union with grafting tape or seal it with wax to block pests and moisture loss. Prune nearby branches to reduce stress, and avoid overwatering. Bonus tip: Spray with neem oil if aphids or mites appear!
Still unsure? Drop your question in the comments—we’re happy to help!
Wrapping up and next steps
Grafting a tree is a rewarding skill that blends patience, precision, and a little green-thumb magic! 🌱 By following these steps—from selecting the right tools to ensuring proper healing—you’ll unlock the ability to propagate favorite varieties, revive struggling trees, or even experiment with unique hybrids.
Remember, mistakes are part of the learning process, so don’t hesitate to start small and build confidence.
Now that you’re armed with knowledge, take the next step: practice on a young, healthy tree or consider joining a local gardening club for hands-on guidance. Happy grafting—and may your trees grow stronger than ever! 🌳✨