Planting
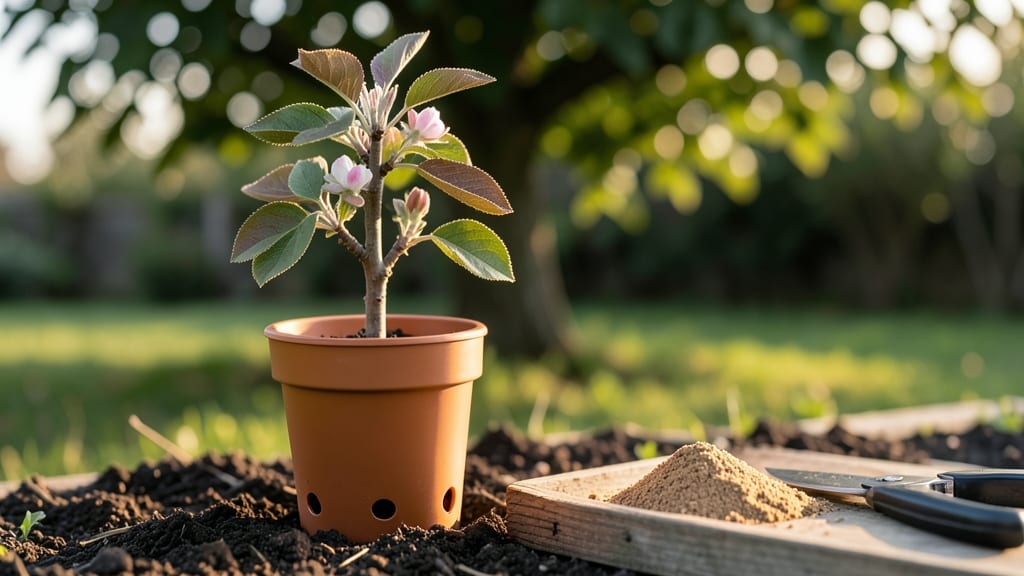
Planting apple trees from cuttings is the gardener’s secret weapon for growing rare varieties without spending a fortune. 🌱 I’ve rooted more than a dozen cuttings over the years, and the thrill of watching those first roots form is unmatched—especially when you’re working with heirloom apples you’d never find at a nursery.
The key isn’t luck; it’s timing, the right tools, and a little patience.
You’ll need sharp pruners, rooting hormone, a clean container, and a sunny spot. The best time to take cuttings is late winter or early spring, when the tree is dormant but just starting to wake up.
A healthy cutting should be about pencil-thick, with at least three buds. Dip the cut end in hormone, and you’re ready to encourage roots—no green thumb required.
Within 8-12 weeks, you’ll see tiny white roots forming at the base of your cutting. Once they’re an inch long, it’s time to transplant into soil. By next spring, you’ll have a sturdy young tree ready to take its place in your orchard.
The best part? These trees grow true to the parent, so that Granny Smith or Arkansas Black you love will come back every time.
This method works for any apple variety, from dwarf to standard-sized trees. Just be patient—rooting takes time, but the payoff is worth it. Let’s get those cuttings growing!
📚 In This Guide
- What you need
- Instructions
- Tips and common mistakes
- Wrapping up and next steps
What you need
- ● Apple tree cuttings: 4–6 healthy, pencil-thick (about ¼-inch diameter) branches, 6–12 inches long, taken from a disease-free tree in late winter or early spring.
- ● Rooting hormone: A powder or gel (like Rootone) to boost root growth—about 1–2 teaspoons per cutting.
- ● Well-draining potting mix: A blend of perlite, vermiculite, and peat moss (or a pre-mixed seed-starting mix). Aim for 2–3 gallons total.
- ● Small pots or containers: 4–6 individual pots (4–6 inches deep) with drainage holes, or a single tray with cell inserts.
- ● Plastic bags or clear domes: To create a humid environment (e.g., ziplock bags or a propagation tray lid).
- ● Spray bottle: For misting cuttings to maintain moisture.
- ● Pruning shears or sharp knife: Sterilized to make clean cuts.
- ● Watering can or spray bottle: For gentle hydration.
- ● Heat mat: Keeps soil warm (70–75°F) to speed up rooting.
- ● Fungicide: Prevents rot if cuttings show signs of mold.
- ● Label markers: To track cutting varieties (if grafting or testing multiple types).
- ● Outdoor shade cloth: Protects cuttings from harsh sunlight during early growth.
Step-by-step instructions for planting apple trees from cuttings
Here's the straightforward method I've used to successfully root apple cuttings—no fancy tools needed.
🌱 Step 1: Take Cuttings at the Right Time
Choose semi-hardwood cuttings in late fall or early winter when the tree is dormant but still has some green in the stems. Look for 12-18 inch long branches that are about pencil-thick—thicker than a quarter but not as big as your thumb. Make a clean cut just below a bud or leaf node with sharp pruners or a knife.
Here's the thing—you want the bottom cut to be slanted and the top cut straight. The slanted cut helps water absorb better once planted, while the straight cut keeps the top dry. Strip off all but the top 2-3 leaves to reduce moisture loss. Store the cuttings in a cool, moist place (like a plastic bag with damp paper towels) until you're ready to plant.
💧 Step 2: Prepare Root Hormone and Planting Medium
Mix 1 part rooting hormone powder with 1 part water to create a slurry. Dip the slanted bottom of each cutting into this mixture, coating the lower 2-3 inches thoroughly. This step is crucial—it dramatically increases your success rate by encouraging root growth.
Fill a clean container with well-draining potting mix (I use a 50/50 blend of perlite and peat moss). Moisten it until damp but not soggy—you should be able to squeeze a handful without water dripping out. Make a hole deep enough to bury half the cutting (about 4-6 inches), then gently place the cutting in and firm the soil around it.
☀️ Step 3: Create a Humid Environment for Root Growth
Place a clear plastic bag over each cutting to trap moisture and humidity. Secure it loosely with a twist tie or rubber band, leaving a little room for air circulation. Real talk: this is where most people go wrong—they either seal it too tight (rotting cuttings) or leave it too loose (dry cuttings). You want the bag to stay foggy but not dripping wet.
Set the container in bright, indirect light (no direct sun yet). Keep the soil consistently moist—water lightly whenever the top inch feels dry. Roots typically form in 4-8 weeks, but don't peek inside the bag until you see new growth at the top. Patience here pays off—resisting the urge to check keeps stress low.
🌿 Step 4: Transplant When Roots Form
Once you see new leaves emerging at the top (your signal that roots have formed), it's time to transplant. Gently remove the cutting from the bag and check for roots by carefully digging around the sides. If you see white, fuzzy roots (about 1-2 inches long), it's ready for the garden.
Dig a hole twice as wide as the root ball but only as deep as the cutting was originally planted. Place the cutting in, firm the soil around it, and water deeply. Mulch with 2-3 inches of organic mulch to retain moisture and protect the young roots. Keep the area consistently moist for the first 2-3 weeks after transplanting—this helps the tree establish itself without shock.
Tips & tricks for planting apple trees from cuttings
Let me share the hard-won wisdom that'll turn your cuttings into thriving trees.
Timing is Everything: The dormant season is your golden window—late fall to early winter—when apple trees are primed for propagation. I've learned the hard way that cutting too early (when sap is still flowing) or too late (when branches are completely bare) drastically reduces success rates. Aim for those branches that still have a touch of green, even when the tree is mostly bare.
The Slant Matters: That slanted bottom cut isn't just decoration—it's a game-changer for water absorption. When you plant, the angled cut creates more surface area for roots to form. Pro tip: Use a sharp knife to make this cut cleanly at a 45-degree angle just below a bud node. If you're struggling with the angle, practice on scrap wood first—precision here makes all the difference.
Root Hormone Hack: While the 1:1 rooting hormone slurry works perfectly, here's my secret weapon: I add a pinch of cinnamon to the mix. The natural antifungal properties help prevent rot while the hormone does its job. Just sprinkle a tiny amount on the cut end before dipping—it's an optional boost that's saved me from several failed batches.
Transplanting Confidence: When checking for roots in Step 4, gently wiggle the cutting—if it resists slightly but still moves, you're good. If it pops right out, roots aren't ready yet. I've found that trees with roots about 1-2 inches long establish fastest in the garden. The key is patience—don't rush the transplanting just because you're eager to see growth!
Pro Tips for Plant Apple Trees From Cuttings
- Let me share the hard-won wisdom that'll turn your cuttings into thriving trees.
- Timing is Everything: The dormant season is your golden window—late fall to early winter—when apple trees are primed for propagation.
- The Slant Matters: That slanted bottom cut isn't just decoration—it's a game-changer for water absorption.
Frequently asked questions
Got questions about propagating apple trees from cuttings?
You’re not alone! Here are answers to the most common queries to help you grow with confidence.
Can I grow an apple tree from any cutting, or does it need to be a specific type?
Not all cuttings will root successfully. Choose semi-hardwood or hardwood cuttings (from current season’s growth or dormant branches) in late fall/winter. Avoid soft, green stems—they rot easily. Look for pencil-thick branches with at least 2-3 buds for best results!
How long does it take for apple cuttings to root?
Rooting can take 4–12 weeks, depending on conditions. Keep the soil moist (not soggy) and maintain humidity (try a plastic bag or propagation dome). Patience is key—test for roots by gently tugging after 6 weeks. If resistance is felt, roots are forming!
Will my new tree produce apples like the parent tree?
Not always! Apple trees are graft-sensitive—cuttings may grow into rootstock (wild-type trees) instead of the variety you cut. For true-to-type fruit, graft a scion (bud) onto a compatible rootstock. Cuttings are great for rootstock propagation or experimental fun, though!
What’s the best temperature for rooting apple cuttings?
Ideal temps are 65–75°F (18–24°C). Avoid extremes—cold stalls growth, while heat causes rot. A sunny windowsill or grow light works, but a heated propagation mat (70°F) speeds up rooting. If outdoors, use a cold frame for winter cuttings.
What if my cuttings rot or mold? How do I fix it?
Overwatering or poor airflow causes rot. Troubleshoot:
- Stop watering immediately and let soil dry slightly.
- Remove moldy cuttings and dip healthy ones in hydrogen peroxide (3%) for 10 mins.
- Improve airflow with a fan (gentle breeze) or larger container.
- Use sterile, well-draining soil (perlite + peat mix).
Wrapping up and next steps
Growing apple trees from cuttings is a rewarding way to propagate your favorite varieties while embracing a hands-on, budget-friendly approach to gardening. 🌱 With the right tools, patience, and a few key techniques—like selecting healthy cuttings, rooting hormones, and proper care—you’ll soon watch your new tree take root and flourish.
Don’t let setbacks discourage you; even experienced gardeners face challenges, but persistence pays off!
Now that you’re armed with knowledge, take the next step: grab those cuttings and get planting! Whether you’re a beginner or a seasoned grower, every tree you nurture today could become a sweet harvest tomorrow. Happy gardening! 🍏✨