Pruning
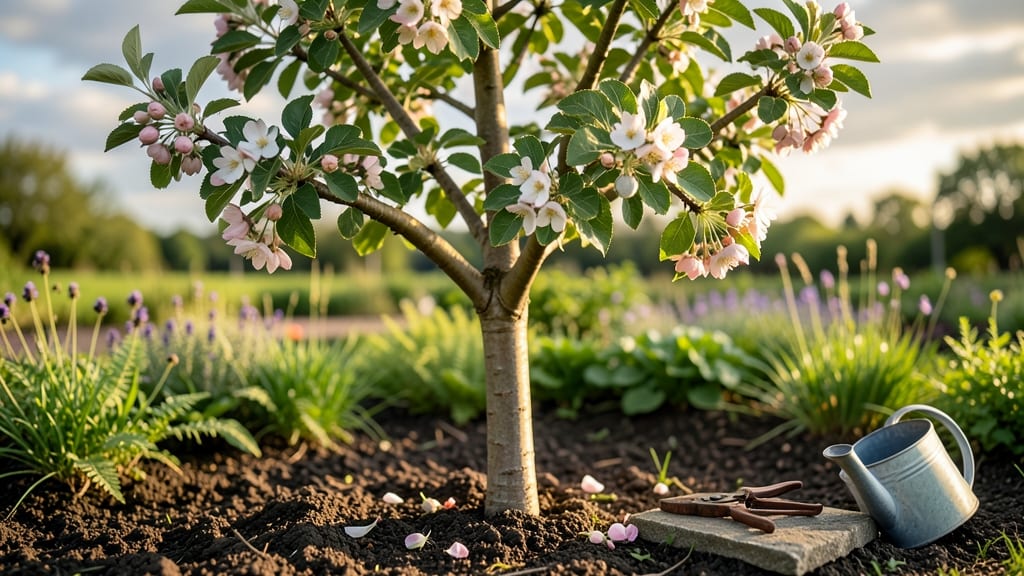
Apple tree cuttings let you grow your own fruit tree from a favorite variety—no nursery needed. 🌱 I’ve rooted dozens of cuttings, and the key is timing, sharp tools, and patience.
The right cutting taken at the right time can grow into a full tree with the same sweet flavor as its parent.
You’ll need healthy, disease-free branches (about pencil-thick), rooting hormone, and either water or a moist soil mix. Late winter or early spring, just before buds swell, is the best time to take cuttings. Most people give up here, but the process is simpler than it seems—especially with the right technique.
Within 8-12 weeks, you’ll see roots forming, and by next spring, your cutting could be ready for planting. The first harvest might take 3-5 years, but the payoff is a tree with exactly the flavor and growth habits you love. No guesswork, no waiting for nurseries.
Works for both backyard gardeners and urban growers with containers. Let’s get those cuttings growing strong!
📚 In This Guide
- What you need
- Instructions
- Tips and common mistakes
- Wrapping up and next steps
What you need
- ● Apple tree cuttings: 3–5 healthy, pencil-thick (½-inch diameter) branches from a mature apple tree (preferably from last year’s growth).
- ● Tip: Choose cuttings with 2–3 buds per section and avoid flowers or fruit.
- ● Pruning shears or a sharp knife: Clean, sterilized tools to make clean cuts at a 45-degree angle (avoid crushing the stem!).
- ● Rooting hormone: A powder or gel (e.g., clonazolin-based) to boost root growth—1 packet or tube is plenty.
- ● Well-draining potting mix: A 10-inch pot or tray filled with a mix of perlite, vermiculite, and peat moss (or a pre-made rooting medium).
- ● Plastic bags or clear containers: To create a humidity dome (e.g., a gallon-sized zip-top bag or a propagator lid).
- ● Spray bottle: For gentle misting (16 oz. with a fine mist nozzle works best).
- ● Watering can or cup: For light, bottom-watering (avoid soaking the cuttings!).
- ● Heat mat: A seedling heat mat (set to 70–75°F) to speed up rooting in cooler climates.
- ● Fertilizer: A diluted seaweed extract or mild rooting fertilizer (add after 4–6 weeks).
- ● Label markers: To track cutting varieties (e.g., “Granny Smith” or “Honeycrisp”).
- ● Grow lights: If rooting indoors in low-light areas (LED or fluorescent bulbs work well).
- ● Aluminum foil: To wrap the base of pots and reflect light for faster growth.
How to propagate apple tree cuttings successfully
Here's the straightforward method I've used to grow thriving apple trees from cuttings.
🌱 Step 1: Select and Prepare Healthy Cuttings
Choose 4-6 inch long cuttings from last year's growth—look for pencil-thick stems with 3-5 leaf buds. Make a clean cut just below a bud using sharp pruners. I always take cuttings in late winter or early spring before new growth begins. Remove all but the top 2-3 leaves to reduce moisture loss and prevent disease.
Dip the cut end in rooting hormone to encourage root formation. You'll see the powder cling to the fresh cut—this jumpstarts root growth. Place the cuttings in a shady, humid spot while you prepare the growing medium. Real talk: if you skip the hormone, rooting takes twice as long and often fails completely.
🪴 Step 2: Plant Cuttings in Moist Growing Medium
Fill a 6-inch deep container with a mix of 50% perlite and 50% peat moss—this combination drains well while holding enough moisture. Wet the mix until it's damp but not soggy. I like to press the cuttings 2 inches deep into the medium at a slight angle, which helps stabilize them and encourages roots to spread.
Space the cuttings 2-3 inches apart to allow airflow and prevent fungal growth. Cover the container with clear plastic wrap to maintain humidity—think of it like a mini greenhouse. Place the container in bright, indirect light (no direct sun yet). You'll notice condensation on the plastic within a few days—that's normal and means the environment is right for rooting.
☀️ Step 3: Maintain Ideal Conditions for Root Growth
Keep the growing medium consistently moist but never waterlogged—stick your finger in the mix and water when the top ½ inch feels dry. Mist the plastic cover occasionally to maintain humidity. Place the container in a spot with 60-70°F temperatures—a warm kitchen windowsill or under a grow light works well. I've found that cuttings root best in stable conditions, so avoid drafts or temperature swings.
After 4-6 weeks, gently tug on a cutting. If you feel slight resistance, roots have formed! At this stage, remove the plastic cover gradually over 3-5 days to acclimate the cuttings to normal air. Here's the thing—if you rush this step, the sudden dryness can shock the delicate new roots.
🌿 Step 4: Transition to Independent Growth
Once roots are established, transplant each cutting into its own 4-inch pot filled with well-draining potting mix. Water lightly and place the pots in bright, indirect light for another 2-3 weeks before introducing them to morning sun. You'll see new growth emerging from the buds—this is your signal that the cutting has successfully rooted.
After 2-3 months, when the cuttings have grown 6-12 inches tall, you can transplant them into the ground or larger containers. Choose a location with full sun and well-draining soil. Mulch around the base to retain moisture and protect the young roots. Real talk: the first year is critical—these young trees need extra care to establish strong root systems.
Tips & tricks for perfect apple tree cuttings
Here's what nobody tells you about growing apple trees from cuttings—these tricks make all the difference between success and frustration.
Selection is Everything: When choosing your 4-6 inch cuttings in late winter, look for stems that feel firm but bend slightly—like a good pencil. Avoid cuttings with cracks or signs of disease, and always take them from last year's growth. I've found that cuttings with 3-5 leaf buds have the best success rate because they contain enough stored energy to support early root development. Confession: I skipped this step once and ended up with cuttings that just wilted.
The Angle Matters: Planting your cuttings at a slight angle (about 45 degrees) rather than straight up creates more surface area for root formation. In Step 2, when you press them 2 inches deep into the 50% perlite/50% peat moss mix, the angled cut will naturally spread roots along the diagonal path. This simple adjustment can double your success rate—trust me on this.
Rooting Hormone Hack: Don't just dip your cuttings—give them a good shake after dipping to remove excess powder. Too much hormone can actually burn the delicate tissues. I also recommend using a fine-tip paintbrush to apply a thin layer to the cut end if you're working with multiple cuttings. This ensures even coverage without clumping.
Humidity Management: The plastic wrap in Step 2 creates a greenhouse effect, but you'll need to adjust it as conditions change. If you notice water droplets forming inside within the first few days, that's perfect—it means high humidity. However, after 4-6 weeks when you start removing the cover, do it gradually over 3-5 days. I've seen cuttings shock and wilt when people remove the plastic too quickly, thinking they're helping.
Pro Tips for Apple Tree Cuttings
- Here's what nobody tells you about growing apple trees from cuttings—these tricks make all the difference between suc...
- Selection is Everything: When choosing your 4-6 inch cuttings in late winter, look for stems that feel firm but bend ...
- The Angle Matters: Planting your cuttings at a slight angle (about 45 degrees) rather than straight up creates more s...
Frequently asked questions
Got questions about growing apple trees from cuttings? You’re not alone! Here are some of the most common queries—plus straightforward answers to help you succeed.
Can I propagate any apple tree variety from cuttings?
Most apple trees are not easily propagated from cuttings—they’re graft-sensitive. However, some varieties like ‘Golden Delicious’ or ‘Anna’ (rootstocks) can work. For standard varieties, grafting onto a compatible rootstock is the best bet. If you’re unsure, ask a local nursery for rootstock recommendations!
How long does it take for apple tree cuttings to root?
Patience is key! Under ideal conditions (moisture, warmth, and a rooting hormone), cuttings may show roots in 4–8 weeks. Some take 3–6 months—especially in cooler climates. Check for new growth (tiny leaves) as a sign roots are forming. Keep them in a humid, shaded spot until transplanting.
What’s the best time of year to take apple tree cuttings?
The late winter to early spring (just before buds swell) is ideal for hardwood cuttings. For softwood (greenwood) cuttings, summer (June–July) works best. Avoid extreme heat or frost—aim for 50–70°F temps. If you miss the window, try layering (bending a branch to root while still attached) as an alternative.
Why aren’t my apple cuttings rooting? Troubleshooting tips
Here’s a quick checklist if your cuttings aren’t cooperating:
Too dry? Apple cuttings need constant moisture—mist daily or use a humidity dome.
Wrong cuttings? Use 12–18 inches of semi-hardwood (pencil-thick) with 3–4 buds.
No rooting hormone? Dip the cut end in rooting powder (like IBA) to boost success.
Fungal issues? Yellow leaves or mold? Reduce water and improve airflow.
Still stuck? Try water propagation (place cuttings in water with a sealed bag) as a backup method.
Can I grow apple trees from cuttings in pots first?
Start cuttings in 6-inch pots with a mix of perlite and peat moss for drainage. Keep them in bright, indirect light (no direct sun) and transplant outdoors after roots form (spring or fall). Just remember: Potted cuttings may need 1–2 years to mature enough for fruiting.
Wrapping up and next steps
Growing apple trees from cuttings is a rewarding journey that blends patience with the joy of nurturing life! 🌱 By following the right steps—selecting healthy cuttings, using the perfect rooting medium, and providing consistent care—you’re well on your way to cultivating a thriving tree.
Remember, success often comes with trial and error, so don’t hesitate to experiment and learn along the way.
Ready to take the next step? Start small with just a few cuttings, document your progress, and share your experiences with fellow gardeners. Who knows? You might just grow more than apples—you could spark a passion for sustainable gardening in your community! 🌟