Pruning
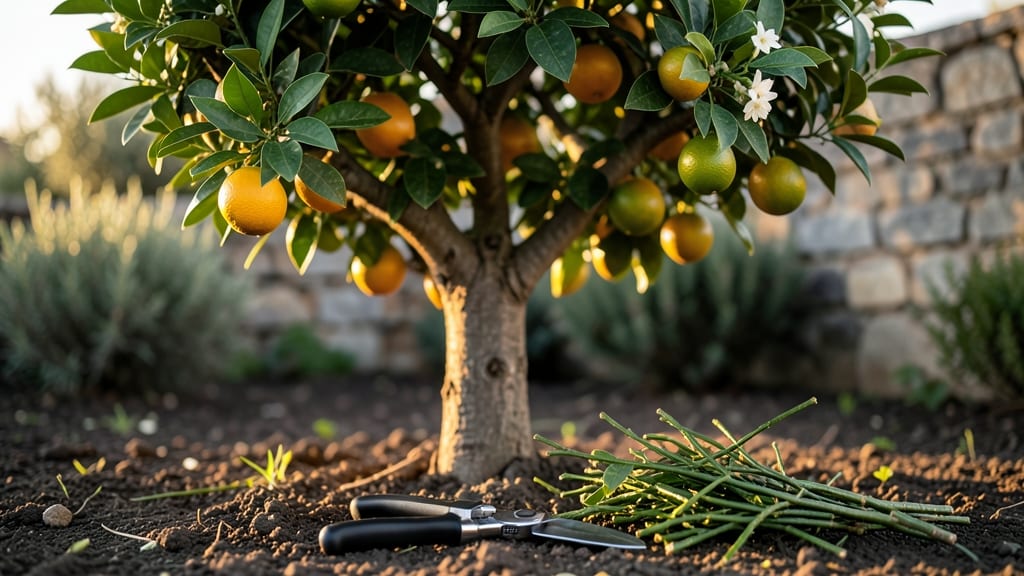
Pruning an orange tree isn’t about hacking branches—it’s about unlocking bigger harvests and healthier growth. 🌿 I’ve spent years watching my citrus trees transform from scraggly to bursting with fruit through just four strategic cuts each year.
The key? Timing, tools, and knowing which branches to keep (and which to say goodbye to).
Most gardeners prune once in late winter, but I’ve learned that four targeted sessions—dormant season, early spring, post-harvest, and summer cleanup—keep the tree balanced all year. You’ll need sharp bypass pruners, a saw for thicker limbs, and a bucket for clippings (compost them!).
The goal isn’t perfection—it’s removing dead wood, opening the canopy for sunlight, and encouraging new growth where it matters most.
What you’ll end up with is a tree that produces more fruit per branch, resists disease better, and looks like it belongs in a grove instead of your backyard. The first pruning session alone can double your harvest next season—no fancy fertilizers required.
And the best part? You’ll spot mistakes early (like over-pruning or cutting too close to the trunk) before they become problems.
This method works for dwarf Meyer lemons, standard Valencia oranges, or anything in between—just adjust the intensity based on your tree’s age and size. Let’s get those branches in shape for a fruit-filled future.
📚 In This Guide
- What you need
- Instructions
- Tips and common mistakes
- Wrapping up and next steps
What you need
- ● Bypass pruners: Sharp, high-quality pruners (like Felco or Fiskars) for clean cuts on branches up to ½ inch thick. Pro tip: 💡 Always keep them clean and oiled to prevent rust!
- ● Loppers: For branches ½ to 1½ inches thick. Look for bypass-style loppers with long handles for leverage.
- ● Pruning saw: A curved-tooth saw (like a bow saw) for thicker branches (1½+ inches). Avoid cheap saws—they can tear wood.
- ● Gloves: Heavy-duty gardening gloves (e.g., Wright & McGill) to protect against thorns and sap.
- ● Disinfectant: 70% isopropyl alcohol or a bleach solution (1 part bleach to 9 parts water) to sterilize tools between cuts (prevents disease spread).
- ○ Pruning sealant: (Optional) A tree wound sealant like Tanglefoot Tree Wound Pruning Seal for large cuts (controversial but useful in some climates).
- ● Extension pole: A 6–10 ft pruning pole with a saw or hook attachment for high branches.
- ● Bucket or tarp: To collect debris and fallen fruit. A 5-gallon bucket works great!
- ○ Marking twine or flags: (Optional) For tagging branches to remove later or marking cuts.
- ● Safety gear: Safety glasses (to shield from debris) and sturdy shoes (orange trees have thorns!).
- ● Check the weather: Prune on a dry, cloudy day (avoid pruning when the tree is wet—disease risk!).
- ● Know your tree’s age: Young trees (light pruning; mature trees benefit from structured cuts.
- ● Identify the 4 key cuts (see our guide!) to avoid over-pruning.
Step-by-Step guide to pruning your orange tree for maximum fruit
Here’s how I keep my citrus trees thriving—no guesswork, just clear cuts for better branches and bigger harvests.
✂️ Step 1: Prune for Structure in Late Winter
Start when the tree is dormant, ideally in late February or early March before new growth begins. This is the only time you’ll shape the tree’s framework. Look for three main scaffold branches—these should spread evenly around the trunk at 45-degree angles. Remove any branches growing straight up or rubbing against others, as these compete for energy.
Use clean, sharp pruning shears to make cuts just outside the branch collar (the swollen area where the branch meets the trunk). Never leave stubs—this invites disease. If a branch is thicker than your wrist, use a pruning saw instead. You’ll know you’ve cut correctly when the wound looks smooth and the branch falls away cleanly.
🌿 Step 2: Thin Out Crowded Growth in Early Spring
Once buds swell but before flowers bloom (mid-March to April), focus on thinning out overcrowded branches. The goal is to let sunlight and air reach the center of the tree. Remove up to 25% of the total growth—this prevents disease and encourages fruit production. Look for branches growing inward or crossing others; these are the first to go.
I like to step back and visualize the tree’s shape after each cut. If you see a branch that’s too close to another or growing toward the center, snip it at its base. Avoid cutting more than one-third of a branch’s length at once—this stresses the tree. Watch for new shoots emerging from old wood; these are often the best candidates for pruning to open up the canopy.
☀️ Step 3: Lighten the Canopy After Harvest
After the main fruit harvest (late summer to early fall), give your tree a light trim to improve air circulation and sunlight exposure. Focus on smaller branches—these are easier to manage and help the tree recover before winter. Remove any dead, diseased, or broken branches first; these are easy to spot as they’ll be brown, brittle, or oozing sap.
For healthy branches, cut back suckers (vigorous shoots growing from the base or trunk) and water sprouts (fast-growing vertical shoots). These steal energy from fruit production. If you see a branch with more than 12 inches of new growth, consider thinning it by one-third to balance the tree’s energy. You’ll notice the tree’s center becomes brighter and more open—this is your cue that pruning is working.
⏰ Step 4: Minimal Winter Maintenance
In December and January, limit pruning to only essential cuts—no major shaping. Remove any branches that died over winter or show signs of frost damage (blackened tips, cracked bark). Use sterilized tools to prevent spreading disease, especially if the tree looks stressed. A quick wipe with rubbing alcohol between cuts keeps everything clean.
This is also the time to check for pests like aphids or scale, which hide in crevices. If you see sticky residue (honeydew) on leaves, spray with neem oil as a preventive measure. Avoid heavy pruning now—the tree needs all its energy to prepare for next year’s bloom. A light touch here ensures a stronger spring flush of growth.
Tips & tricks for pruning your orange tree like a pro
Pruning an orange tree isn't just about cutting branches—it's about creating a balanced, fruitful tree that thrives year-round. Here are the secrets I've learned after years of trial and error in my own backyard.
Timing is Everything: The four-season schedule in the instructions is non-negotiable, but here's the secret: late February to early March is your golden window because the tree is fully dormant but about to wake up. If you prune too early, you risk frost damage to fresh cuts. In mid-March to April, wait until you see buds swelling—this means the tree is ready to redirect energy to fruit production rather than new growth. I've made the mistake of pruning too early in both seasons, and the tree struggled to recover.
Visualize the Tree's Future: Before making any cuts, step back and imagine your tree's ideal shape. In Step 2, when thinning crowded growth, focus on creating an open center that lets sunlight reach all branches. Think of your tree like an umbrella—you want the canopy to spread outward, not bunch up in the middle. I've found that holding a string between two stakes and tracing its outline helps me visualize the perfect shape before I start cutting. This technique prevents that "windblown" look many trees get after heavy pruning.
Tool Maintenance is Critical: Your pruning shears and saw are just as important as the cuts you make. After using them for Step 1 or Step 4, wipe them down with rubbing alcohol and a clean cloth to prevent disease spread. I keep a small bottle of alcohol in my gardening toolbox specifically for this purpose. Also, sharpen your blades annually—dull tools crush branches instead of making clean cuts, which stresses the tree. I learned this the hard way when my orange tree developed cankers after using dull shears for two years straight.
Pest Prevention Starts Now: While checking for pests during Step 4's winter maintenance, look for early signs like yellowing leaves or white cottony masses on branches. Neem oil isn't just for treatment—it's preventive too. I spray my trees with diluted neem oil (1 tablespoon per gallon of water) in December and January even when I don't see pests. This creates a protective barrier that deters aphids and scale before they become a problem. The key is consistency: apply it every 4-6 weeks during the dormant season.
Pro Tips for How Do You Prune An Orange Tree
- Pruning an orange tree isn't just about cutting branches—it's about creating a balanced, fruitful tree that thrives year-round.
- Timing is Everything: The four-season schedule in the instructions is non-negotiable, but here's the secret: late February to early March is your golden window because the tree is fully dormant but about to wake up.
- Visualize the Tree's Future: Before making any cuts, step back and imagine your tree's ideal shape.
Frequently asked questions
Got questions about pruning your orange tree? You’re not alone—many gardeners wonder about timing, techniques, and what to avoid. Here are answers to the most common concerns to help you prune like a pro!
When is the best time to prune an orange tree?
The ideal time is late winter or early spring (just before new growth starts). Avoid pruning in fall or during fruit-bearing seasons, as it can stress the tree. For tropical or subtropical climates, prune in dry months to reduce disease risk.
Can I prune an orange tree at any time of year?
While you can prune year-round, timing matters. Heavy pruning in summer can stress the tree, while winter cuts (in cold climates) may damage tender new growth. Light shaping is fine anytime, but major cuts should wait for dormancy or warm, dry weather.
What if I prune too much? Will my orange tree die?
Over-pruning (removing more than 25% of foliage in one session) can weaken the tree, reduce fruit production, and invite pests. If you’ve already overdone it, don’t panic—focus on light pruning next year and fertilize well to recover. Baby steps are key!
Will pruning reduce my orange harvest?
Not if done correctly! Pruning actually improves fruit quality by increasing airflow and sunlight. Just avoid cutting back too aggressively during flowering or fruiting seasons. Aim for balanced cuts to keep your tree healthy and productive.
How do I prune an orange tree in hot or humid climates?
In humid areas, sterilize tools with rubbing alcohol to prevent fungal spread. Prune during dry mornings to let wounds heal faster. Avoid heavy cuts—opt for shaping and removing dead wood instead. Mulch afterward to retain moisture without suffocating roots.
What if my orange tree isn’t producing fruit after pruning?
Fruit production often lags after major pruning as the tree redirects energy to recovery. Be patient—consistent care (water, fertilizer, sunlight) will help. If the issue persists, check for pests, nutrient deficiencies, or over-shading from nearby plants.
Wrapping up and next steps
Pruning your orange tree isn’t just about trimming—it’s about unlocking its full potential! 🌱 By mastering the 4 key cuts (structural, renewal, thinning, and disease-prone), you’ll boost fruit production, improve airflow, and keep your tree thriving year-round. Remember, timing and technique matter, so stay patient and observe your tree’s response.
Now that you’re armed with the know-how, grab your pruners and get started! 🌟 For extra confidence, watch a few pruning tutorials or join a local gardening group to learn from fellow green thumbs. Happy pruning—your orange tree (and future harvest) will thank you!