
Trees
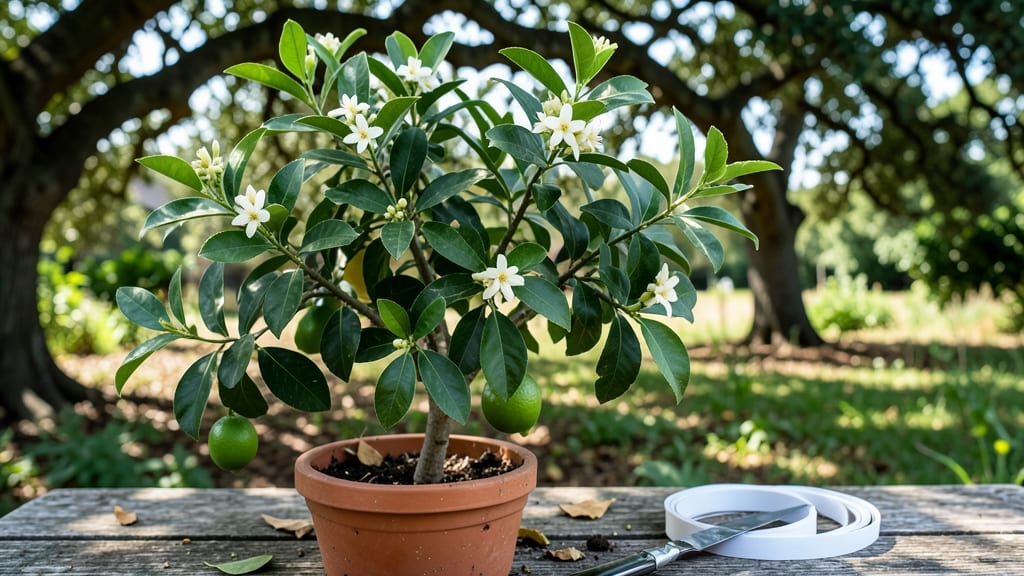
Grafting citrus fruit trees lets you create your own dwarf varieties or rescue struggling trees—though I nearly gave up after my first failed attempt with sticky sap and wobbly cuts.
The key is matching the right rootstock to your climate and working when the sap is flowing but not too aggressive. My lemon tree now produces fruit in half the time of its seed-grown cousin, and the technique works for oranges, limes, and grapefruit too.
You’ll need sharp grafting tools, a clean workspace, and compatible citrus varieties—think of it as surgical precision with a little horticultural alchemy. The whip-and-tongue method is beginner-friendly, while cleft grafting works better for thicker rootstocks.
Sterilize everything to avoid disease, and time your graft for late winter or early spring when new growth is just starting. Most home growers see success rates of 60-80% with practice, and even a single successful graft makes the effort worthwhile.
What you end up with is a tree that bears fruit years earlier than seed-grown varieties, with predictable flavor and size. Imagine plucking homegrown lemons in your first year instead of waiting a decade—plus, you can combine disease-resistant rootstock with your favorite scion varieties.
The first harvest is the real reward, though the process itself becomes oddly satisfying once you get the hang of it.
Works for both tropical and subtropical climates, though timing varies by zone. In colder areas, graft in a controlled environment like a greenhouse. The same principles apply whether you’re working with a single tree or building an entire citrus collection. Ready to give it a try?
📚 In This Guide
- What you need
- Instructions
- Tips and common mistakes
- Wrapping up and next steps
What you need
- ● Scion wood: Healthy, disease-free citrus shoots (1/4" diameter) from the variety you want to graft (e.g., Meyer lemon, orange, lime). Quantity: 3–5 per graft attempt.
- ● Rootstock: Young citrus rootstock seedlings (1–2 years old) with a trunk diameter of 1/4"–1/2". Quantity: 1 per graft.
- ● Grafting knife or pruning shears: Sharp, clean, and sterilized (70% isopropyl alcohol works well). Spec: Small, precise blade (e.g., Felco #2 or equivalent).
- ● Grafting tape or rubber bands: To secure the graft union. Spec: 1/2"–3/4" wide, stretchy, and breathable.
- ○ Pruning sealant (optional): Wound dressing (e.g., tree paint or grafting wax) to prevent disease. Spec: Citrus-safe formula.
- ● Plastic bag or humidity dome: To maintain moisture around the graft (e.g., clear plastic wrap or a small greenhouse tent).
- ● Horticultural spray bottle: For misting the graft site daily. Spec: Fine mist setting.
- ● Timing: Late winter to early spring (when rootstock is dormant but scions are starting to swell). Avoid extreme heat or cold.
- ● Clean workspace: Disinfect tools and surfaces with rubbing alcohol to prevent bacterial/fungal infections.
- ● Patience: Grafts take 4–8 weeks to heal—keep the area shaded and moist until the union forms!
- ● Backup scions: Extra scions in case of failure (grafting has a ~50–70% success rate for beginners).
Step-by-step guide to grafting citrus trees for stronger, faster fruit production
Here's the method I've used to propagate reliable citrus varieties with minimal stress.
Select and Prepare Your Scion and Rootstock
Choose a healthy, disease-free scion—this is the branch carrying the fruit variety you want. It should be about 1/8-inch thick and taken from a mature tree in late winter or early spring when the tree is dormant but just beginning to swell. Cut a 4-6 inch section with at least 3-4 buds and a clean diagonal cut at the base.
Your rootstock should be a young, vigorous citrus seedling—either from seed or a previously grafted tree—with a stem diameter similar to your scion. Prune the rootstock just above a bud or leaf node about 12-18 inches from the ground. This creates a fresh, callus-free surface for the graft to bond with. I always sterilize my tools with rubbing alcohol to prevent bacterial contamination.
Make the Cuts and Align the Graft
For a whip-and-tongue graft—the most reliable method for citrus—I make a 1-1.5 inch diagonal cut on both the scion and rootstock. The angle ensures maximum contact area. Then, I carefully slice a 1/8-inch deep notch at the base of each cut, creating a "tongue." This interlocking feature dramatically improves graft success.
Slide the scion's tongue into the rootstock's notch, ensuring the cambium layers—the green, growth-producing layer just under the bark—align perfectly. The scion should sit snugly against the rootstock without gaps. If it feels loose, trim a fraction more from the tongue until it fits tightly. Wrap the graft immediately with grafting tape or rubber tubing to hold everything in place.
Secure and Protect the Graft
Cover the entire graft with grafting wax or a commercial sealant to prevent moisture loss and infection. I use a small paintbrush to apply a thin, even layer—thick applications can suffocate the tissues. Then, I place a plastic bag loosely over the grafted area to maintain high humidity. This isn't a sealed environment; the bag just helps retain moisture while the graft heals.
Position the scion slightly upward to encourage upward growth. Secure the entire setup with a small stake if needed, but avoid excessive pressure that could damage the delicate tissues. Keep the rootstock in partial shade for the first 2-3 weeks—direct sun can stress the newly joined tissues.
Monitor and Encourage New Growth
Check the graft weekly for signs of healing. Successful grafts will show new growth from the scion within 4-8 weeks, depending on temperature and humidity. Look for tiny leaves or swelling at the bud union—this is your confirmation that the graft has taken. If the scion remains dormant after 8 weeks, it likely failed, and you'll need to try again.
Once new growth appears, gradually remove the plastic bag over 5-7 days to acclimate the graft to normal conditions. Increase sunlight exposure slowly, moving the tree to full sun over 2 weeks. Prune any competing shoots from the rootstock below the graft line to direct the tree's energy into the scion. I always fertilize lightly at this stage with a balanced citrus fertilizer to support recovery.
Maintain and Harvest Your New Tree
After 6-12 months, your grafted citrus tree should be established enough to produce fruit. However, citrus trees grafted from scions may take 2-3 years to bear significant yields compared to seed-grown trees. During this time, maintain consistent watering—keeping soil 2-3 inches deep moist but never waterlogged—and fertilize every 3 months with citrus-specific nutrients.
Watch for signs of stress like yellowing leaves or stunted growth, which may indicate poor graft union or disease. If you notice the scion and rootstock growing apart, the graft has failed, and you'll need to prune back to healthy tissue and attempt a new graft. With proper care, your grafted tree will reward you with fruit identical to its parent—just faster than growing from seed.
Tips & tricks for perfect citrus tree grafting
Citrus grafting rewards patience and precision—here’s how to maximize your success without the guesswork.
Scion Selection: When choosing your scion in late winter or early spring, look for branches with a slight green tint at the tips—this indicates the tree is just emerging from dormancy and will graft more successfully. Avoid scions with cracks, lesions, or excessive sap, as these can introduce disease or fail to bond properly. I’ve found that morning collections work best since the plant’s moisture content is highest, making the tissue more pliable for cutting.
Precision Cutting: The whip-and-tongue method’s success hinges on those 1-1.5 inch diagonal cuts and 1/8-inch deep notches. Use a sharp, sterilized grafting knife—dull blades crush tissue instead of cleanly slicing. Hold the knife at a 25-degree angle for the diagonal cut, then make the notch parallel to the cambium layer. This alignment ensures maximum contact area between the scion and rootstock, which is critical for callus formation.
Environmental Control: Maintaining high humidity during the first 2-3 weeks is non-negotiable. I’ve had grafts fail because the plastic bag was too loose or torn—always secure it with a twist tie or rubber band. Place the grafted tree in a shaded area with indirect light; direct sun can cause the graft to overheat and desiccate. A small greenhouse or even a covered patio works well. If you don’t have a humidifier, mist the area lightly twice daily to mimic a tropical environment.
Post-Graft Care: Once you see new growth after 4-8 weeks, resist the urge to rush the acclimation process. Gradually remove the plastic bag over 5-7 days by opening it wider each day—this prevents shock to the tender new shoots. I’ve seen growers remove the bag too quickly, leading to wilting. Similarly, move the tree to full sun over 2 weeks, not all at once, to avoid sunburn on the delicate graft union.
Pro Tips for Graft Citrus Fruit Trees
- Citrus grafting rewards patience and precision—here’s how to maximize your success without the guesswork.
- Scion Selection: When choosing your scion in late winter or early spring, look for branches with a slight green tint at the tips—this indicates the tree is just emerging from dormancy and will graft more successfully.
- Precision Cutting: The whip-and-tongue method’s success hinges on those 1-1.5 inch diagonal cuts and 1/8-inch deep notches.
Frequently asked questions
Got questions about grafting citrus trees? You’re not alone—this technique can feel tricky at first! Here are answers to the most common queries to help you graft like a pro.
What’s the best time of year to graft citrus trees?
The ideal window is late winter to early spring (just before buds swell) or mid-summer (when trees are actively growing). Avoid grafting during extreme heat or frost. Pro tip: Morning hours (when temps are mild) are perfect for minimal stress on the tree!
Can I graft citrus onto a different type of tree, like a lemon onto an orange?
Yes! Citrus trees are highly compatible for grafting—lemon, lime, or grapefruit can all thrive on orange or mandarin rootstock. Just ensure the scion (top graft) and rootstock are healthy and similar in size. Warning: Avoid grafting onto non-citrus trees (like avocado), as success rates plummet!
How long does it take for a grafted citrus tree to bear fruit?
Patience is key! With proper care, grafted citrus trees may produce fruit in 2–5 years, depending on the variety and growing conditions. Dwarf rootstock speeds up fruiting, while full-sized trees take longer. Fun fact: Some grafted trees (like Meyer lemons) can surprise you with early blooms!
What should I do if my graft fails or the scion dies?
Don’t panic! Check for poor contact (tightly wrap grafts), disease (fungus or rot), or environmental stress (too much sun/wind). If the scion dies, try again with a fresh cut and sealant. Pro move: Keep a backup scion in a damp paper towel until your next attempt!
Are there easier alternatives to grafting for beginners?
If grafting feels overwhelming, try air-layering (encouraging roots on a branch) or budding (simpler than cleft grafting). Both work well for citrus! For instant gratification, buy a young grafted tree from a nursery—just ensure it’s disease-free and healthy.
Wrapping up and next steps
Grafting citrus fruit trees is a rewarding skill that lets you grow your dream varieties—whether it’s sweet oranges, tangy lemons, or juicy grapefruits—right in your backyard! 🌱 By following the right techniques, timing, and care, you’ll soon enjoy luscious fruit from your own grafted tree.
Now that you’re armed with knowledge, why not start practicing on a few scions today? Grab your tools, pick a sunny spot, and watch your citrus dreams take root—one graft at a time!
Pro tip: Document your progress with photos! Tracking growth and challenges will help refine your skills—and inspire future projects. 📸✨