
Pruning
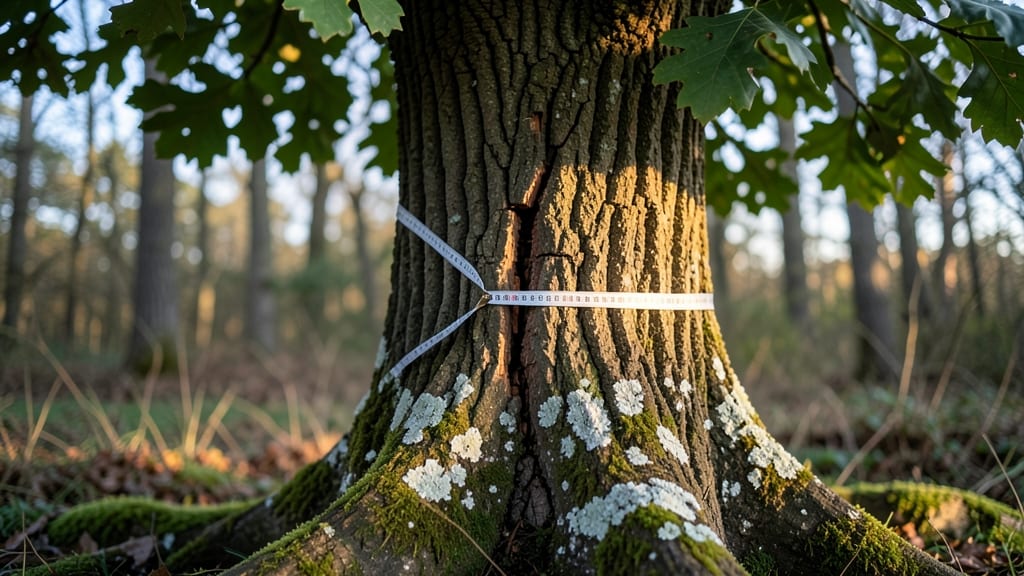
That peeling, cracked, or sap-oozing tree injury to bark isn’t just unsightly—it’s your tree’s silent SOS, and ignoring it could turn a tiny nick into a full-blown crisis in just two seasons. the key to saving your tree starts with understanding why the damage happened.
Whether it’s a lawnmower’s reckless swipe, pest tunnels, or winter’s harsh freeze-thaw cycle, the cause dictates the cure.
The good news? Most bark injuries aren’t death sentences if you act fast. You’ll need basic tools—a sharp pruning knife, rubbing alcohol for sterilizing, and a breathable wound dressing—but no fancy equipment.
The real work is cleaning up the damage, removing infected tissue, and giving the tree a fighting chance to seal itself. Think of it like stitching up a scrape: the goal is to minimize further harm while the tree does its own healing.
By the time you’re done, your tree won’t look like new, but it’ll stop bleeding sap and start knitting itself back together. You’ll see fresh growth in the following season, and the worst of the damage will fade into a faded scar.
The secret? Work when the tree’s dormant (late fall or early spring) so it’s not fighting stress on top of injury.
This method works for fruit trees, shade trees, and even young saplings—just scale the approach to the tree’s size. The biggest mistake? Waiting until summer heat turns a small wound into a gateway for disease. Let’s get your tree patched up before the next storm rolls in.
📚 In This Guide
- What you need
- Instructions
- Tips and common mistakes
- Wrapping up and next steps
What you need
- ● Pruning shears or handsaw – Sharp, clean tools for removing damaged bark (choose a bypass pruner for precision or a pruning saw for thicker branches).
- ● Sterilizing solution – 70% isopropyl alcohol or a 10% bleach solution (1 part bleach to 9 parts water) to disinfect tools between cuts.
- ○ Tree wound dressing (optional but recommended) – A high-quality, breathable product like Tanglefoot Tree Wound Pruning Sealer or Ortho Fruit Tree Sealant (avoid non-breathable coatings like asphalt-based sealants).
- ● Gloves – Heavy-duty gardening gloves to protect your hands from splinters and debris.
- ● Ladder or sturdy step stool – For reaching higher branches safely (ensure it’s rated for your weight and placed on stable ground).
- ● Rag or paper towels – For cleaning tools and wiping away sap or debris.
- ● Disposable container – To hold your sterilizing solution while working.
- ● Safety goggles – To shield your eyes from debris, especially when sawing.
- ● First aid kit – Just in case of minor cuts or scrapes.
- ● Spray bottle with water – To dampen the area slightly before applying wound dressing (helps adhesion).
- ● Camera or phone – Document the injury before and after repair for tracking progress.
Step-by-Step guide to repairing tree bark damage
Here’s how to safely restore your tree’s bark and protect it from further harm.
Assess the Damage and Determine the Cause
Start by examining the injury closely. Look for signs like cracked, peeling, or sunken bark, which often indicate physical trauma, disease, or pest activity. Run your fingers gently over the damaged area—rough or discolored patches suggest deeper issues. If the bark is missing in large sections, the tree’s protective layer is compromised, making it vulnerable to pests and disease.
Identify what caused the damage: was it a lawnmower, animal gnawing, or harsh winter conditions? For example, deep gouges from machinery expose the cambium layer, the tree’s lifeline for nutrient transport. If you see sap oozing, that’s the tree’s natural response to injury, but excessive sap flow signals severe stress. Take a few photos to track progress before and after treatment.
Clean the Wounded Area
Use a clean, sharp pruning knife or sterilized tool to carefully trim away any loose, dead, or hanging bark. This prevents decay from spreading deeper into the tree. Work gently—you’re not pruning branches, just removing debris. Wipe the wound with a cloth dampened in a 1:10 bleach-to-water solution to disinfect the area. Avoid harsh chemicals; this step is about sanitation, not treatment.
If the wound is deep or jagged, smooth the edges lightly with your tool to create a clean, slightly sloped shape. This helps rainwater run off instead of pooling in the injury. For small wounds, a natural sealant like pruning paint isn’t necessary—healthy trees heal well on their own. But for larger wounds (over 4 inches wide), consider applying a tree wound dressing to protect the exposed area temporarily.
Apply Protective Measures
For wounds larger than 2 inches, cover the area with a tree wound dressing or a mix of beeswax and linseed oil (equal parts). This creates a barrier against pests, disease, and further physical damage. Apply a thin layer—thick coatings can suffocate the tree’s natural healing process. If the bark is split but not torn away, wrap the area with tree wrap or plastic sheeting to hold it in place while it heals.
Monitor the tree for signs of stress, like wilting leaves or unusual leaf drop. If the damage extends into the trunk’s vascular system, the tree may need professional care. Avoid over-treating: healthy trees heal best with minimal intervention. Water the tree deeply after treatment to help it recover, especially if the injury occurred during dry conditions.
Prevent Future Damage and Maintain Tree Health
Protect the tree’s trunk with a tree guard or metal collar to shield it from lawn equipment, pets, or wildlife. Mulch around the base with 2-3 inches of organic mulch, keeping it 6 inches away from the trunk to prevent moisture buildup that can rot bark. Avoid piling mulch against the trunk—this traps moisture and invites pests.
Regularly inspect the tree for new injuries, especially after storms or seasonal changes. Prune dead or weak branches to reduce stress on the tree’s structure. If the tree shows signs of decline—like persistent oozing, fungal growth, or dead branches—consult an arborist. Healthy trees recover faster, so focus on overall care: water during droughts, fertilize as needed, and avoid unnecessary stress like over-pruning.
Tips & tricks for perfect tree bark repair
Here’s what I’ve learned from years of helping trees recover—these tricks make all the difference when restoring damaged bark.
Assessment Accuracy: When examining the wound in Step 1, pay special attention to the edges. If you see dark, water-soaked wood or a foul smell, that indicates rot has already set in. Healthy wood should look light-colored and firm—this tells you the tree still has a fighting chance. I’ve seen many people miss this detail and end up treating a tree that’s already beyond saving.
Tool Sanitation: Before cleaning the wound in Step 2, sterilize your pruning knife by wiping it with rubbing alcohol. I learned this the hard way after transferring fungal spores from one wound to another. Use a fresh cloth for each tree if you’re treating multiple specimens. The 1:10 bleach solution is effective, but make sure it’s fresh—old solutions lose their disinfecting power.
Wound Shape Matters: In Step 2, when smoothing jagged edges, aim for a slope that’s about 30 degrees from vertical. This angle helps rainwater sheet off instead of pooling. I’ve noticed that wounds with flat bottoms tend to collect moisture, which slows healing. For larger wounds, consider using a mallet and chisel to create this slope—it’s worth the extra effort.
Protective Layer Application: For wounds over 2 inches wide in Step 3, I recommend using a commercial tree wound dressing rather than the beeswax mixture. While the beeswax works, commercial products often contain fungicides that give your tree an extra layer of protection. Apply it in a thin layer—thicker applications can actually trap moisture against the wound, which is counterproductive.
Pro Tips for Tree Injury To Bark
- Here’s what I’ve learned from years of helping trees recover—these tricks make all the difference when restoring damaged bark.
- Assessment Accuracy: When examining the wound in Step 1, pay special attention to the edges.
- Tool Sanitation: Before cleaning the wound in Step 2, sterilize your pruning knife by wiping it with rubbing alcohol.
Frequently asked questions
Got questions about tree bark injuries?
Here are the most common concerns—and practical answers—to help you act fast and protect your trees.
What should I do immediately after noticing bark damage?
Act quickly! Clean the wound with a sterilized pruner to remove loose or dead bark, then apply a wound dressing (like pruning sealant) if the cut is larger than 2 inches in diameter. This prevents pests and disease from entering. For small tears, just monitor the tree—no treatment is needed unless it worsens.
How long does it take for a tree’s bark to heal?
Healing depends on the tree species and injury size. Minor scrapes may seal within weeks, while deeper wounds can take 1–2 years or longer. Avoid pruning or stressing the tree during recovery. Patience is key—healthy trees often regenerate bark naturally over time.
Can I use duct tape or petroleum jelly to seal bark wounds?
No—never use duct tape, petroleum jelly, or plastic wraps! These trap moisture, suffocate the wound, and create the perfect environment for rot or fungal growth. Stick to tree-specific wound sealants (like Tanglefoot Tree Wound Pruning Sealer) or let the tree heal naturally for small injuries.
Will a bark injury attract pests like beetles or borers?
Yes, exposed wounds are open invitations for pests and pathogens. Clean the area thoroughly, apply sealant to large wounds, and inspect the tree regularly for signs of infestation (sawdust-like frass, holes, or wilting leaves). Early action can save your tree!
Are some trees more prone to bark damage than others?
Thin-barked trees like birch, willow, or cherry are more vulnerable to tearing, while thick-barked species (e.g., oak or maple) handle injuries better. Avoid heavy equipment near delicate trees, and use protective tree wraps during winter to prevent sun scald or frost cracks.
Wrapping up and next steps
Understanding and addressing tree injury to bark is key to keeping your trees thriving and beautiful for years to come! 🌳 By recognizing signs of damage, gathering the right tools, and following careful repair steps, you’re already taking proactive care of your green companions.
Remember, even small wounds can heal with the right approach—so don’t hesitate to act.
Ready to give your trees the best care? Start by inspecting them regularly and take action at the first sign of trouble. If the damage feels overwhelming, consider consulting a local arborist for expert guidance. Your trees will thank you with lush, healthy growth! 🌿