
Pruning
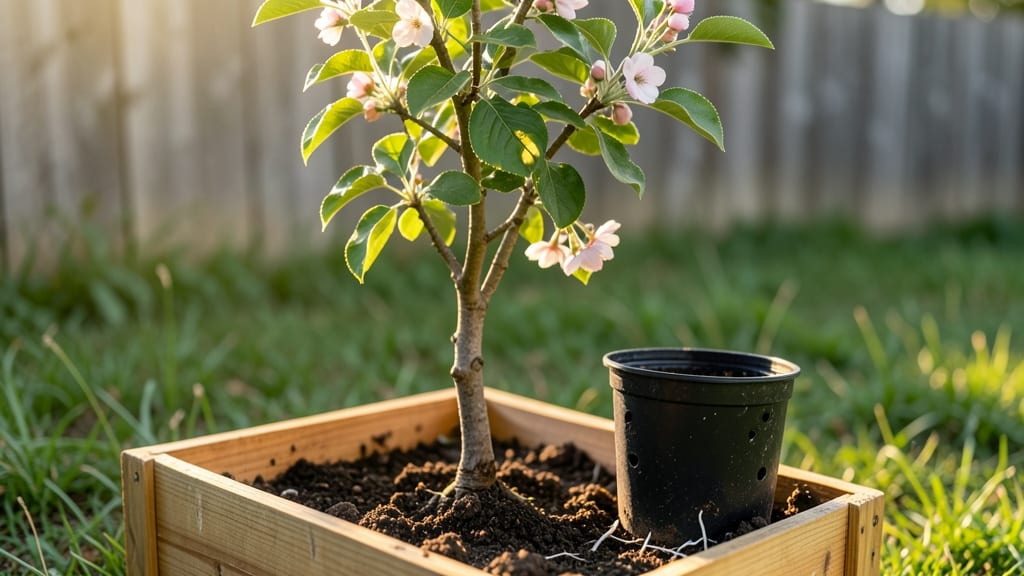
Planting my first tree felt like starting a friendship that would last decades—one that would provide shade, wildlife habitat, and quiet beauty for generations. 🌳 The right tree makes all the difference: small enough for a beginner to handle but sturdy enough to grow with you, like a Japanese maple or a serviceberry.
These varieties forgive mistakes and reward patience with vibrant foliage or delicious fruit.
You’ll need just three things to begin: a healthy young tree (3-5 feet tall), a spot with at least 6 hours of sunlight, and a shovel for planting. The soil doesn’t need to be perfect—just loose enough to let roots spread.
Water deeply once a week for the first month, then taper off as the tree establishes itself. Pruning comes next, and it’s simpler than you think.
After a year, your tree will reward you with fuller branches and stronger growth. The key is timing: prune in late winter or early spring before new leaves emerge, and always cut just above a bud or branch junction.
You’ll see the difference in just a few seasons—thicker trunk, denser canopy, and maybe even flowers or fruit. Every cut you make now shapes the tree’s future.
This method works for almost any climate, though drought-tolerant varieties like crape myrtle need less water once established. Urban gardeners can even choose smaller trees for tight spaces. The best part? Your tree will keep growing long after you’ve mastered the basics, becoming a living legacy in your yard.
📚 In This Guide
- What you need
- Instructions
- Tips and common mistakes
- Wrapping up and next steps
What you need
- ● Pruning shears: Bypass pruners (for small branches, 4–6 inches in diameter). Look for sharp, stainless-steel blades—$15–$30 range.
- ● Loppers: Long-handled (for branches ½–1½ inches thick). Ergonomic grips recommended. ~$20–$40.
- ● Pruning saw: Curved-tooth (for thick branches >1½ inches). ~$15–$35.
- ● Disposable gloves: Nitrile or leather (thick enough to protect from thorns). ~$5–$10 for a pack.
- ● Cleaning supplies: 70% isopropyl alcohol (for sterilizing tools between cuts).
- ● Rag or paper towels.
- ● First-aid kit: Basic (bandages, antiseptic wipes—just in case!).
- ● Extension pole: 3–6 ft (for hard-to-reach branches). ~$10–$25.
- ● Tree wound dressing: Pruning sealant (controversial—skip if unsure!).
- ● Notebook/pencil: To sketch your tree’s structure before pruning.
- ● Safety glasses: If working near large, heavy branches.
- ● Weather: Choose a dry, calm day (avoid wind/rain). Early morning or late afternoon is ideal.
- ● Knowledge: Basic understanding of your tree’s species (deciduous vs. evergreen) and growth habits.
- ● Safety: Wear closed-toe shoes and avoid working alone if the tree is tall.
- ● Timing: Prune dormant trees (late winter/early spring) or after flowering (for fruit-bearing trees).
Step-by-step guide to pruning your first tree
Here's how to shape a young tree with confidence—no green thumb required.
🌱 Step 1: Identify the Right Time to Prune
Prune your tree during its dormant season—late winter or early spring before new growth begins. This timing minimizes stress on the tree and reduces disease risk. Look for bare branches and buds that haven't swollen yet; those are your cues the tree is resting. Avoid pruning in fall or winter when pests and diseases are more active.
If you're dealing with a newly planted tree, wait until it's 1-2 years old before pruning. Young trees establish roots first, and early pruning can slow their growth. For fruit trees, prune just after harvest to shape the tree for next season's fruit production.
✂️ Step 2: Gather the Right Tools and Safety Gear
You’ll need a few key tools: a pair of sharp bypass pruners for small branches, loppers for thicker limbs, and a pruning saw for any branches too large for the loppers. Wear gloves to protect your hands from thorns or rough bark, and safety glasses to shield your eyes from flying debris.
Disinfect your tools with rubbing alcohol before and after pruning to prevent spreading disease between cuts. A clean cut heals faster and keeps your tree healthy. If you're working on a tall tree, consider using a pole saw or hiring a professional for branches above shoulder height.
🌿 Step 3: Remove Dead, Diseased, or Damaged Branches First
Start by scanning the tree for any branches that are dead, diseased, or damaged. Dead branches will be dry, brittle, and often gray or brown. Diseased branches may have unusual spots, oozing sap, or unusual growths. Cut these out first—they’re no longer contributing to the tree’s health and could spread problems to the rest of the tree.
Make your cuts just outside the branch collar—the swollen area where the branch meets the trunk. This ensures the tree can seal the wound properly. Avoid leaving stubs; they invite decay and weaken the tree. If a branch is larger than 4 inches in diameter, make a second cut a few inches further out to avoid tearing the bark.
☀️ Step 4: Shape the Tree for Balance and Airflow
Next, focus on shaping the tree to encourage strong growth. Remove any branches that are rubbing against each other—these will eventually create wounds and invite pests. Also, look for branches growing inward toward the center of the tree; these block sunlight and airflow, which can lead to disease. Cut these out to open up the canopy.
For young trees, aim to create a natural, open shape that allows light to reach the lower branches. This encourages even growth and reduces the risk of breakage during storms. Avoid over-pruning—never remove more than 25% of the tree’s foliage in one session. You’re shaping, not sculpting.
⏰ Step 5: Clean Up and Monitor Your Tree
After pruning, gather all the debris and remove it from the area to prevent pests or diseases from taking hold. Rake up any small twigs and dispose of them in the trash, not the compost. This step is critical—leaving pruned material on the ground can harbor fungi and insects that will harm your tree.
Keep an eye on your tree in the weeks following pruning. Healthy new growth should appear within 4-6 weeks, signaling that the tree is recovering well. If you notice yellowing leaves, oozing sap, or unusual wilting, these could be signs of stress or disease. In that case, reassess your pruning technique or consult a local arborist for advice.
Tips & tricks for perfect tree pruning
Real talk: Pruning your first tree can feel intimidating, but these simple tricks will help you avoid common mistakes and get results that look like you've been doing it for years.
Timing is Everything: Late winter or early spring is your golden window for pruning—right when you see those bare branches but before the buds start swelling. This timing gives your tree time to heal before summer heat stress. I learned this the hard way after pruning too early and watching my tree struggle through the cold months. If you missed this window, wait until after the tree's fully leafed out in spring, but avoid summer pruning if possible—it stresses the tree when it's actively growing.
Tool Prep Prevents Problems: Before you make a single cut, disinfect your tools with rubbing alcohol. I can't tell you how many times I've seen pruning tools spread disease between trees. Also, always use sharp tools—dull blades tear bark and create jagged wounds that heal poorly. Test your pruners on a small branch first to make sure they're cutting cleanly. For branches over 4 inches thick, make your second cut just outside the branch collar to avoid bark tearing, exactly as mentioned in Step 3.
Visual Cues Over Guessing: When shaping your tree in Step 4, look for branches that cross each other—they'll eventually create wounds where pests can enter. Also watch for branches growing straight up from the trunk; these are called "water sprouts" and should be removed to encourage stronger lateral growth. Think of your tree like a sculpture—you're creating space between branches to allow sunlight and air to circulate. This open shape prevents disease and makes future pruning easier.
Cleanup is Critical: After pruning, don't just leave the debris on the ground! Rake up all small twigs and dispose of them in the trash, not compost. I've seen too many people leave pruned material under their trees, only to have fungal diseases develop. The 4-6 week recovery period mentioned in Step 5 starts with a completely clean workspace. Also, if you notice any yellowing leaves or oozing sap after pruning, that's your tree's way of telling you it's stressed—back off and let it recover before trying again.
Pro Tips for My First Tree
- Real talk: Pruning your first tree can feel intimidating, but these simple tricks will help you avoid common mistakes and get results that look like you've been doing it for years.
- Timing is Everything: Late winter or early spring is your golden window for pruning—right when you see those bare branches but before the buds start swelling.
- Tool Prep Prevents Problems: Before you make a single cut, disinfect your tools with rubbing alcohol.
Frequently asked questions
Got questions about your first tree-pruning adventure? You’re not alone—every gardener starts somewhere! Here are answers to the most common concerns to help you feel confident and ready to go.
What’s the best time of year to prune my first tree?
For most trees, late winter or early spring (just before new growth starts) is ideal. This timing minimizes stress and encourages healthy blooms or foliage. Avoid pruning in fall or winter unless dealing with damaged branches—evergreens can be pruned anytime except in extreme cold. Pro tip: Check your tree’s species for specific needs!
How do I know which branches to cut?
Look for branches that are:
- Dead, diseased, or crossing others (creating rubbing wounds).
- Growing toward the center of the tree (limbs that compete for sunlight).
- Weak or storm-damaged (safety first!).
Can I prune a young tree the same way as a mature one?
Not quite! Young trees (under 5 years old) benefit from structural pruning—focus on removing water sprouts, weak crotches, and branches growing at sharp angles. Mature trees need selective pruning to maintain shape and health. Pro tip: Sketch a simple map of your tree’s branches before cutting to visualize the end result.
What should I do if I accidentally over-prune my tree?
Don’t panic! If you’ve removed too much foliage, your tree may look stressed, but it can recover. Water it deeply, avoid fertilizing for a few weeks, and monitor for pests or disease. For severe cases, consult a local arborist. Pro tip: Prune in stages if you’re unsure—better to do less now than overdo it!
Are there trees I should never prune myself?
Yes! Large, mature trees (especially near power lines or structures) or species prone to aggressive regrowth (like willows or poplars) are best left to professionals. If your tree is over 50 feet tall or has a thick trunk, hire an arborist. Pro tip: When in doubt, call a certified arborist—they’ll assess risks and techniques tailored to your tree.
Wrapping up and next steps
Planting your first tree is an exciting step toward greener living—and now you’re equipped with the confidence to prune like a pro! 🌱 Remember, every expert gardener started with their first cut, so embrace the learning curve.
Your tree will thank you with vibrant growth, and you’ll gain the satisfaction of nurturing something beautiful.
Ready to take the next step? Start small—try pruning just one branch at a time or experiment with a low-maintenance tree like a crabapple or dogwood. Over time, you’ll master the art, and your garden will flourish! 🌿