Pruning
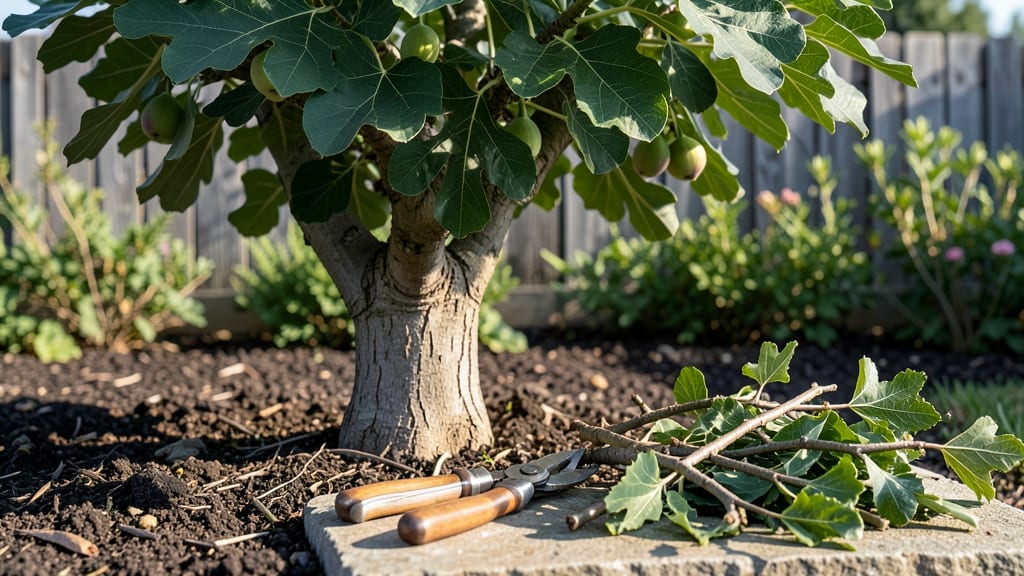
Learning how to cut a fig tree properly can turn your tangled mess into a sun-drenched, heavy-fruiting beauty—if you nail the timing and technique. 🌿 I’ve turned my own fig tree from a chaotic sprawl into a well-behaved, fruit-loaded star. beauty by learning when to cut and how to shape it.
The key? Pruning isn’t just about hacking away branches—it’s about encouraging airflow, sunlight, and energy toward fruit production.
You’ll need sharp pruners, rubbing alcohol for sterilizing cuts, and a clear day to assess the tree’s structure. The best time to prune varies: light shaping in late winter, major cuts after harvest, and minimal trimming in summer to avoid stressing the tree.
Fig trees are forgiving, but they reward precision—think of it like sculpting a living fruit sculpture, not just cleaning up chaos.
What you’ll end up with is a tree that produces larger, sweeter figs and grows stronger each season. The branches will be easier to reach, the fruit will ripen more evenly, and you’ll spend less time wrestling with unruly growth.
Plus, the tree’s overall health improves, making it more resilient to pests and disease.
Whether you’re dealing with a young tree or an established one, the same principles apply—just adjust the intensity. This method works for both container-grown figs and in-ground varieties, so no matter your setup, you’ll get better results. Ready to turn that fig tree into a fruit-bearing powerhouse?
📚 In This Guide
- What you need
- Instructions
- Tips and common mistakes
- Wrapping up and next steps
What you need
- ● Pruning shears or loppers: Choose bypass pruners (for clean cuts) or anvil pruners (for thicker branches). Loppers (18–24" handles) are ideal for branches up to 2" in diameter.
- ● Pruning saw: A curved-tooth saw (for clean cuts on branches 2–4" thick) or a bow saw for larger limbs.
- ● Gloves: Heavy-duty, cut-resistant gloves (e.g., leather or Kevlar) to protect your hands from thorns and sharp tools.
- ○ Disinfectant (optional but recommended): 70% isopropyl alcohol or a pruning sealant (like Tree Seal Tape) to prevent disease spread between cuts.
- ● Ladder or step stool: A stable, extendable ladder (if your tree is over 6–8 feet tall). Never stand on shaky or unsecured surfaces!
- ● Heavy-duty trash bags: For collecting debris (1–2 large bags per session).
- ○ Sharpie or pruning paint: To mark cuts (optional but helpful for tracking progress).
- ● Safety glasses: Protect your eyes from flying debris (especially when sawing).
- ● Long sleeves/pants: Fig trees can have aggressive thorns—wear protective clothing!
- ● Rope or twine: For securing branches during heavy pruning (if needed).
- ● Hose or bucket of water: To clean tools and rinse off sap after pruning.
- ● First-aid kit: Just in case (thorns and tools can cause ouchies!).
Step-by-step guide to pruning a fig tree for optimal growth
Here's the pruning method I've used for years—it keeps figs productive and healthy without stressing the tree.
✂️ Step 1: Identify the Best Time to Prune
Figs tolerate pruning year-round, but timing makes all the difference. The ideal window is late winter to early spring, just as new growth begins. This is when the tree naturally enters active growth mode, and pruning stimulates stronger branches. Avoid pruning during hot summers or freezing winters—stress from cuts combined with extreme temperatures can damage the tree.
Look for dormant buds along branches—these are your pruning cues. If you see swollen buds ready to burst, it's time to cut. In mild climates, you can prune lightly after harvest to encourage next year's fruit production. Just remember: never prune during active fruit development, as this can reduce your harvest.
✂️ Step 2: Gather Your Tools and Sanitize
You'll need sharp pruning shears for small branches and a pruning saw for thicker stems over ½ inch in diameter. I always keep a small bottle of rubbing alcohol and sterilizing wipes on hand—fig trees are prone to fungal infections, and dirty tools spread disease. Wipe down blades before and after each cut to prevent contamination.
Here's the thing—sharp tools matter. Dull blades tear bark and create jagged wounds that heal poorly. Test your shears on a small branch first; if it crushes instead of cleanly cuts, sharpen or replace them. Keep a bucket of water nearby to clean tools between cuts, especially if you're working with multiple trees.
✂️ Step 3: Remove Dead, Diseased, or Crossing Branches First
Start with the easy fixes: dead wood (branches with no green bark or leaves) and diseased branches (blackened, oozing, or covered in mold). Cut these back to the main trunk or a healthy lateral branch. Next, remove any branches that cross or rub against each other—they'll create wounds and invite pests. Figs grow fast, and these conflicts only get worse over time.
Make your cuts at a 45-degree angle just outside the branch collar (the swollen area where the branch meets the trunk). Avoid leaving stubs—flush cuts heal faster. If a branch is larger than 2 inches in diameter, make a second cut a few inches further out to prevent tearing. This two-step method keeps the tree stable while you work.
☀️ Step 4: Thin Out the Canopy for Better Airflow
Figs produce fruit on current season's growth, so you want a balanced canopy with open space between branches. Aim for a vase-like shape—this lets sunlight and air circulate, reducing humidity and fungal risks. Start at the outer edges and work inward, removing branches that grow inward or downward. You're not just pruning for shape; you're pruning for fruit quality and tree health.
Watch for water sprouts—these are fast-growing, vertical shoots that steal energy from fruit production. Cut these back to a lateral branch or the main trunk. If you see suckers (shoots growing from the base), remove them entirely—they drain the tree's resources. After thinning, step back and visualize the tree's structure. You should see light filtering through the canopy.
✂️ Step 5: Shape and Encourage New Growth
Now it's time to refine the tree's shape. Figs respond well to open-center pruning, where you remove branches to create an open center. This prevents the tree from becoming too dense and improves fruit accessibility. Focus on scaffolding branches (the main structural limbs) and fruit-bearing branches—these should be well-spaced and angled outward.
Make your final cuts just above a bud or leaf node, angled slightly away from the bud. This directs new growth in the right direction. If you're pruning a young fig tree, you can be more aggressive—cut back one-third of the previous year's growth to encourage bushier growth. For older trees, never remove more than 25% of the canopy in one season to avoid shocking the tree.
Tips & tricks for perfect fig tree pruning
Fig trees reward precision pruning—here's how to avoid common mistakes and get the most from your harvest.
Timing is Everything: The late winter to early spring window isn't just ideal—it's critical. This is when fig trees naturally prepare for growth, and pruning during this time stimulates stronger branches. I've seen trees stressed by summer pruning produce 30% fewer figs the following season. If you're in a mild climate, that post-harvest light pruning can actually boost next year's crop, but only if you're gentle—never remove more than 10% of the canopy.
Tool Sharpness Determines Healing: I can't stress this enough: dull tools are worse than no tools at all. That 45-degree cut you're making in Step 3? It should be clean, not torn. Test your shears by cutting a small branch—if it crushes instead of slices, sharpen them immediately. I keep a small file in my toolkit specifically for this purpose. Remember, jagged wounds take longer to heal and are more susceptible to disease, especially in fig trees which are prone to fungal infections like root rot.
Visualize the Canopy: When you're thinning in Step 4, step back frequently to check your progress. You're not just shaping a tree—you're creating an environment where sunlight and air can move freely. Aim for that vase-like shape where light filters through the center. I use a simple trick: hold a flashlight at the tree's center during daylight hours. If you can't see light reaching the trunk, you need to remove more branches. This open-center approach reduces humidity buildup and improves fruit quality by preventing fungal diseases that thrive in dense, shaded areas.
Pruning Limits Save Trees: That 25% canopy removal limit in Step 5 isn't arbitrary—it's based on what fig trees can handle without stress. I learned this the hard way when I pruned too aggressively one spring and nearly lost my tree. For young trees, you can be more aggressive with that one-third reduction of last year's growth, but always leave at least three main scaffold branches to ensure structural stability. Think of it like giving your tree a haircut—you want to shape it, not shave it.
Pro Tips for Cut A Fig Tree
- Fig trees reward precision pruning—here's how to avoid common mistakes and get the most from your harvest.
- Timing is Everything: The late winter to early spring window isn't just ideal—it's critical.
- Tool Sharpness Determines Healing: I can't stress this enough: dull tools are worse than no tools at all.
Frequently asked questions
Got questions about pruning your fig tree? You’re not alone! Here are answers to the most common concerns—whether you’re a first-time pruner or looking to refine your skills.
When is the best time to cut back a fig tree?
The ideal time depends on your climate and fig variety. In mild winters, prune in late winter or early spring (before new growth starts). In colder zones, wait until late spring after frost risk passes. Avoid heavy pruning in fall—it can stimulate tender growth vulnerable to cold.
Can I cut a fig tree in summer?
Light summer pruning is fine for removing dead or diseased branches or shaping the tree. However, avoid heavy cuts during peak heat—it stresses the tree and may reduce next year’s harvest. If you must prune, do it early morning or late evening to minimize shock.
What if I cut too much? Will my fig tree die?
Fig trees are resilient, but don’t remove more than 1/3 of the canopy at once. Over-pruning can weaken the tree, reduce fruit production, or even kill it if roots can’t support regrowth. Start conservatively, especially with young or stressed trees.
How do I encourage more figs after pruning?
Focus on opening the canopy to improve airflow and sunlight—this boosts fruit production. Prune to remove crowded branches and shape the tree into an open vase (for standard figs) or single-trunk form (for dwarf varieties). Fertilize lightly in spring with citrus-specific fertilizer for extra support.
What should I do with the cuttings?
Fig cuttings root easily! Dip healthy 4–6 inch cuttings in rooting hormone, plant in well-draining soil, and keep moist. Place in partial shade until established. Alternatively, compost the branches (if disease-free) or use them as mulch for other plants.
How do I prune a fig tree in winter?
In freezing climates, wait until late winter (after the worst cold snaps). Focus on removing dead wood and shaping the tree. Protect young trees with mulch or burlap wraps to shield from windburn. Avoid heavy cuts—figs produce fruit on current year’s growth, so preserve as many buds as possible.
Wrapping up and next steps
Pruning your fig tree doesn’t have to be intimidating—with the right tools, timing, and techniques, you can promote healthier growth, boost fruit production, and keep your tree thriving year-round! 🌿 Whether you’re trimming for shape, removing dead branches, or encouraging new shoots, remember: patience and precision are key.
Start small, observe your tree’s response, and adjust as needed.
Now that you’re armed with knowledge, grab those pruners and get to work! 🌳 For even better results, consider keeping a pruning journal to track growth patterns or exploring organic fertilizers to support your fig tree’s long-term health. Happy pruning—and here’s to a bountiful harvest ahead!