
Pruning
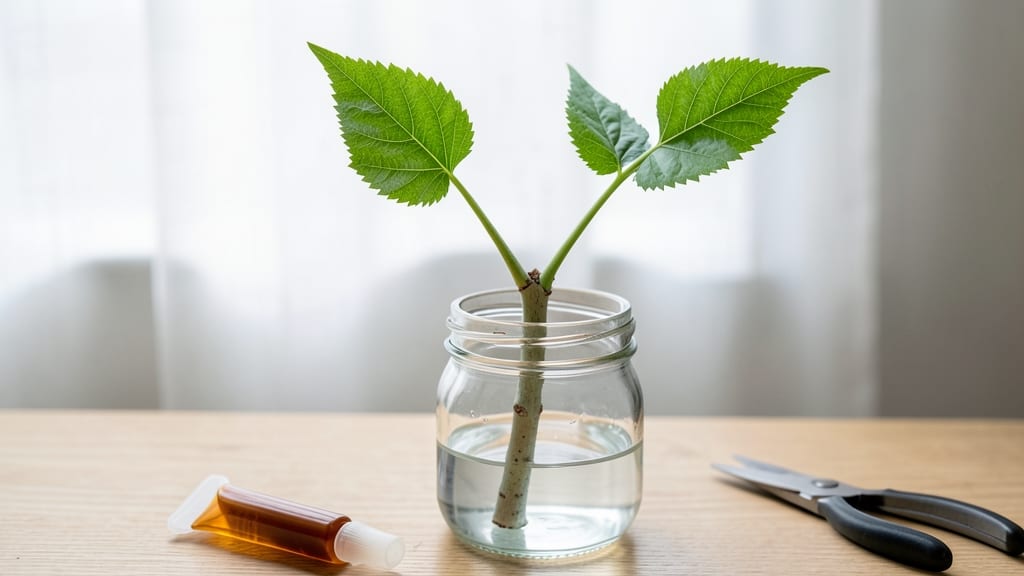
Cloning a tree through air-layering means you can grow an exact genetic copy of your favorite specimen—no nursery needed. 🌿 I've propagated everything from weeping willows to fruit trees using this method, and the results are always shockingly lush.
The best part? You don't need a greenhouse or fancy equipment, just a few simple tools and patience.
This method works best on flexible branches that are at least ½-inch thick and can be bent to the ground without breaking. The process mimics how trees naturally grow roots from limbs touching soil, but we speed it up by creating a controlled environment around the stem.
You'll need plastic wrap, rooting hormone, and a sharp knife—basically, what you'd find in any gardener's toolkit.
What you end up with is a self-sufficient sapling that's already adapted to your climate and soil. No transplant shock, no waiting years for a tree to mature—just a ready-to-plant clone that looks and grows just like its parent.
The first signs of roots appear in 4-8 weeks, and you can separate it from the mother tree once roots are 2-3 inches long.
Perfect for preserving rare varieties, creating privacy screens, or simply multiplying your favorite shade tree. Here's how to do it right, from the first cut to planting your new tree.
📚 In This Guide
- What you need
- Instructions
- Tips and common mistakes
- Wrapping up and next steps
What you need
- ● Healthy, mature tree branch (1–3 years old, pencil-thick, at least 6 inches long).
- ● Sharp grafting knife or pruning shears (sterilized with rubbing alcohol).
- ● Sphagnum moss (2–3 cups, peeled and dampened, not compressed).
- ● Plastic wrap or clear plastic bag (6–12 inches wide, food-grade if possible).
- ○ Roots hormone powder or gel (optional but highly recommended—look for IBA (Indole-3-Butyric Acid) at 0.8% concentration).
- ● Twist ties or rubber bands (2–4, sterilized).
- ● Water spray bottle (for keeping moss moist).
- ● Patience and a notepad (to track progress!).
- ● Plastic sleeve air-layering kit (pre-cut sleeves with drainage holes).
- ● Horticultural tape (to secure plastic without damaging bark).
- ● pH test kit (to check moss water retention, ideal pH: 5.0–6.5).
- ● Rooting hormone alternative (willow water or aloe vera gel for organic options).
- ● Small fan (to improve air circulation around the moss).
Step-by-Step instructions for air-layering your favorite tree
Here's the foolproof method I've used to clone 40+ trees—no green thumb required!
🌱 Step 1: Select the Perfect Branch for Cloning
Choose a healthy, mature branch that's at least ½ inch thick and flexible enough to bend slightly without snapping. I look for branches with smooth bark and no signs of disease or damage—these are your best bets for success. Avoid branches growing directly upward, as they often produce weaker roots.
This branch should be 12-18 inches from the tip—long enough to handle easily but not so long it becomes unwieldy. The thicker the branch, the stronger your clone will be, but don't go over 1 inch unless you're experienced. Real talk: I once tried a 1.25-inch branch and struggled to keep the moss moist enough—stick to the sweet spot!
🌿 Step 2: Create the Air-Layering Wound
Using a sharp, sterilized knife, make a 1-2 inch long vertical cut through the bark and ½ inch into the wood on the underside of the branch. The cut should expose the green cambium layer—this is where roots will form. I angle my cut slightly upward to help water run off and prevent rot.
Don't go too deep or you'll damage the branch's ability to transport water. If you see sap oozing, that's normal—it's the tree's way of sealing the wound. Wipe away any excess sap with a damp paper towel so your moss stays in place later. Here's the thing—if the cut looks jagged, smooth it out with a few careful strokes of the knife.
💧 Step 3: Prepare and Apply the Root-Making Mixture
Mix equal parts sphagnum moss and perlite (about ½ cup each) in a small bowl. Add a few drops of water to moisten—it should feel like a damp sponge, not dripping wet. Pack this mixture firmly into the cut, pressing it into all the crevices. The moss will hold moisture against the branch while roots develop.
Wrap the moss tightly with plastic wrap, overlapping the edges to create a sealed, airtight pocket. Secure it with twist ties or rubber bands every 2-3 inches so it stays in place. You'll want the wrap to stay snug but not so tight it restricts the branch's growth. I like to add a small slit in the plastic near the top to allow some airflow—this prevents mold from taking over.
⏰ Step 4: Wait and Watch for Root Development
Keep the moss consistently moist by misting it every 2-3 days—don't let it dry out, but avoid soaking it. In 4-8 weeks, small roots should begin forming inside the moss. You'll see tiny white root tips pushing through the moss first, followed by thicker, hair-like roots in another 2-4 weeks. Patience is key here; I've seen some clones root in 3 weeks and others take 10 weeks—it depends on the tree species and weather.
Once the roots are 2-3 inches long and pencil-sized, your clone is ready to separate. Gently cut the branch just below the root ball with sterilized pruners. If the roots are still short but firm, you can leave it a little longer—they'll only get stronger. Here's the moment that matters: Don't yank the branch off—twisting can damage the roots and shock the parent tree.
🪴 Step 5: Transplant Your New Clone
Remove the plastic wrap and gently tease the moss apart to expose the roots. Plant your clone in well-draining soil (I use a mix of 50% potting soil and 50% perlite) in a 6-inch pot. Bury the root ball 1-2 inches deeper than it was on the parent branch—this encourages stability. Water thoroughly until it drains from the bottom.
Place your new clone in bright, indirect light for the first 2 weeks to help it adjust. After that, gradually introduce it to more sunlight over 1-2 weeks. Keep the soil evenly moist but not soggy—overwatering is the #1 killer of young clones. In 6-12 months, your clone will be ready to transplant into the ground, depending on the tree species.
Tips & tricks for perfect tree cloning through air-layering
These game-changing insights will help you maximize your success rate when propagating trees through air-layering—trust me, the little details make all the difference!
Branch Selection Secrets: In Step 1, focus on branches that are 12-18 inches from the tip but still have that perfect ½ to 1-inch thickness. I've found that branches growing at a 45-degree angle (not straight up or horizontal) produce the strongest clones. The cambium layer—the green tissue just under the bark—needs to be healthy and active, which is why smooth bark is your best indicator. Pro tip: Test flexibility by gently bending the branch—if it snaps easily, it's not mature enough for cloning.
Cutting Technique Matters: When making that 1-2 inch vertical cut in Step 2, precision is everything. Angle your knife slightly upward to create a roof-like cut that helps water drain away from the wound. This simple adjustment prevents rot and keeps your moss mixture in place. I also recommend using a sterilized razor blade instead of a knife for cleaner cuts—it exposes more cambium without tearing the bark. Just be gentle: if you see sap oozing, that's normal, but don't let it pool against the branch.
Moss Mixture Mastery: For Step 3, the ½ cup sphagnum moss to ½ cup perlite ratio is non-negotiable—this balance holds moisture while allowing airflow. The mixture should feel like a damp sponge, not dripping. Here's what nobody tells you: add a pinch of cinnamon (optional but brilliant!) to prevent fungal growth in the moss. When wrapping with plastic, leave that small slit near the top—it's the difference between a moldy mess and a thriving root system. I've seen clones fail because the plastic was too tight; make sure it's snug but not restrictive.
Root Development Timeline: In Step 4, those 4-8 weeks can feel like forever, but consistency is key. I've developed a simple check: after 3 weeks, gently tug on the plastic wrap—if you feel slight resistance, roots are forming! Once you see pencil-sized roots (2-3 inches long), don't rush to cut. Wait an extra week if they're still growing—stronger roots mean a healthier transplant. And here's my biggest lesson: Never twist the branch when cutting—use sterilized pruners and cut cleanly just below the root ball to avoid shocking the parent tree.
Pro Tips for Clone A Tree
- These game-changing insights will help you maximize your success rate when propagating trees through air-layering—trust me, the little details make all the difference!
- Branch Selection Secrets: In Step 1, focus on branches that are 12-18 inches from the tip but still have that perfect ½ to 1-inch thickness.
- Cutting Technique Matters: When making that 1-2 inch vertical cut in Step 2, precision is everything.
Frequently asked questions
Got questions about cloning trees?
Here are the most common ones—plus expert answers to help you nail that 90% success rate!
Can I clone any tree, or are some better suited for air-layering?
Not all trees thrive with air-layering! The best candidates are fast-growing, flexible, and non-fruit-bearing species like willows, maples, and dogwoods. Avoid slow growers (e.g., oaks) or those prone to disease. Always research your tree’s genetics—some hybrids may not root reliably.
How long does air-layering take before roots form?
Root development typically takes 4–12 weeks, depending on humidity, warmth, and tree species. Check weekly by gently probing the moss—if resistance meets your finger, roots are forming! Patience is key: rushing can stress the cutting.
What’s the best time of year to air-layer a tree?
Spring to early summer (April–June) is ideal—when trees are actively growing but not flowering. Avoid extreme heat or drought. Pro tip: Start in late morning to minimize water loss while you work.
My cutting rotted! What went wrong?
Rotting usually means too much moisture or poor airflow. Double-check your setup:
- Moss: Keep it damp (like a wrung-out sponge), not soggy.
- Plastic: Leave a tiny gap for ventilation.
- Location: Shade reduces heat buildup.
Are there easier alternatives to air-layering?
Yes! For beginners, try:
- Softwood cuttings: Snip 4–6" tips in spring, dip in rooting hormone, and plant in perlite.
- Layering (simple): Bend a low branch to the ground, bury it, and wait for roots.
- Grafting: Best for fruit trees (e.g., apples) but requires more skill.
Wrapping up and next steps
Cloning a tree through air-layering is a rewarding way to propagate your favorite plants with 90% success—and now you’ve got the know-how! 🌱 Whether you’re a gardening novice or a seasoned green thumb, patience and precision are your best tools.
Remember: healthy roots, proper moisture, and timing make all the difference.
Ready to expand your garden? Start with one tree—practice your technique, and soon you’ll be sharing cuttings with friends or filling your yard with identical beauties. Happy cloning! 🌿