
Propagation
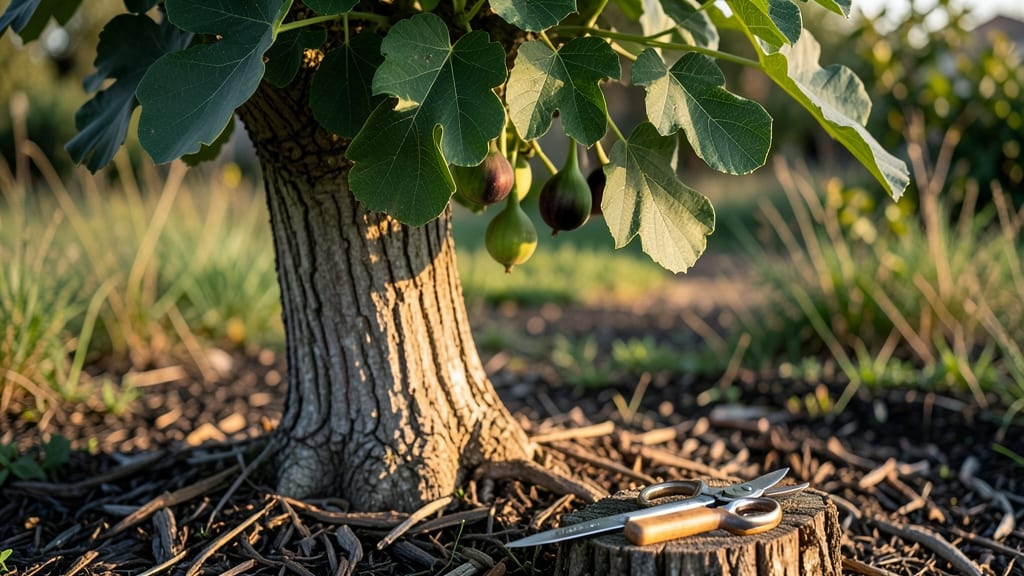
Taking a cutting from a fig tree feels like unlocking a free plant—no nursery tag required. 🌱 The trick is timing it right (late spring or early summer) and choosing healthy, semi-hardwood stems.
I’ve propagated figs this way for years, and the key is patience—roots take 4-6 weeks, but the payoff is a tree that thrives with minimal fuss.
You’ll need sharp pruners, rooting hormone (optional but helpful), a clean jar of water or a small pot with moist potting mix, and a plastic bag to create humidity. Avoid overwatering—fig cuttings rot faster than they root if left too damp.
My first attempt failed because I skipped the humidity trick, but once I added that plastic bag, success was just around the corner.
By the end of summer, you’ll have a sturdy young fig tree ready to plant in the ground or a pot. The leaves will be glossy, the stems firm, and you’ll finally understand why everyone raves about propagating figs.
Just watch for signs of stress—yellowing leaves mean too much water, while slow growth just means more time under the humidity dome.
Works for both indoor and outdoor figs, though outdoor trees give you bigger, tougher cuttings. The real secret? Don’t rush it—figs root best when they’re not pushed. Now grab those pruners and let’s grow!
📚 In This Guide
- What you need
- Instructions
- Tips and common mistakes
- Wrapping up and next steps
What you need
- ● Healthy fig tree: Choose a mature, disease-free tree with strong, flexible branches (1/4 to 1/2 inch in diameter).
- ● Sharp pruning shears or bypass pruners: Must be clean and sterilized (rubbing alcohol or bleach solution works).
- ● Rooting hormone: A powder or gel (e.g., Clonex or Dip 'N Grow) to encourage root development.
- ● Well-draining potting mix: A blend of 50% perlite or vermiculite and 50% peat moss or coconut coir (sterilized).
- ● Small pots or containers: 4-6 inches in diameter (with drainage holes). Repurpose yogurt cups or plastic nursery pots if needed!
- ○ Plastic wrap or clear plastic bag: To create a humid environment (optional but highly recommended).
- ● Spray bottle with water: For misting cuttings to maintain moisture.
- ● Labeling tags & marker: To track cuttings by date and variety.
- ● Hormone-free alternative: Cinnamon powder (natural antifungal) or aloe vera gel (for moisture + mild root stimulation).
- ● Heat mat: Keeps soil warm (70-75°F) for faster rooting (ideal for cooler climates).
- ● Humidity dome: Pre-made propagation kit with built-in humidity cover.
- ● Fertilizer (low-dose): Fish emulsion (1:10 dilution) or seaweed extract after roots form (4-6 weeks).
- ● Grow lights: If propagating indoors with limited sunlight.
Step-by-Step guide for propagating fig tree cuttings
Here's how I've successfully rooted fig tree cuttings—no fancy tools needed.
🌱 Step 1: Select the Right Branch for Cutting
Choose a healthy, non-flowering branch that's about ½ to ¾ inch thick. Look for one with 4-6 mature leaves and no signs of disease. I like to take cuttings in late spring or early summer when the tree is actively growing. Avoid branches with flowers or fruit—they'll slow down rooting.
Use clean, sharp pruning shears to make a 45-degree angle cut just below a leaf node. This angled cut gives you more surface area for roots to form. If you're unsure where the node is, run your fingers along the stem—you'll feel a slight bump where leaves attach. That's your target spot.
💧 Step 2: Prepare the Cutting for Rooting
Remove the bottom 2-3 leaves from your cutting, leaving only the top leaves intact. This reduces moisture loss while still allowing the cutting to photosynthesize. Dip the cut end in rooting hormone (optional but helpful) to encourage faster root growth. I like to use a powdered hormone because it's easy to apply.
Fill a small container with sandy, well-draining soil mix or perlite. Moisten it lightly but don't soak it—you want it damp, not soggy. Stick the prepared cutting about 2 inches deep into the mix, making sure the leaf nodes are below the soil surface. Gently firm the soil around the cutting to hold it in place.
☀️ Step 3: Create Ideal Growing Conditions
Place your cutting in a location with bright, indirect light. Too much direct sun will dry out the cutting, while too little light will make it weak and leggy. A spot near an east-facing window works well. Keep the soil consistently moist by misting it lightly every 2-3 days—don't let it dry out completely, but avoid waterlogging.
Cover the cutting with a clear plastic bag or humidity dome to create a mini greenhouse effect. This traps moisture and warmth, which speeds up rooting. Check the cutting daily and remove the bag for 10 minutes every few days to let fresh air circulate. You'll know roots are forming when you see new growth at the top or feel slight resistance when you gently tug on the cutting after about 4-6 weeks.
✂️ Step 4: Transplant When Roots Are Established
Once your cutting has developed a good root system (usually after 8-12 weeks), it's time to transplant it into a larger pot. Gently remove the cutting from the propagation mix and check for roots. If you see white, fuzzy roots growing from the cut end, it's ready for the next step.
Fill a 6-inch pot with well-draining potting mix and make a hole in the center. Place the rooted cutting into the hole, ensuring the soil line is at the same level as it was before. Water it thoroughly and place it in a spot with morning sun and afternoon shade for the first week to help it adjust. After that, gradually introduce it to more sunlight.
Tips & tricks for perfect fig tree cuttings
Here's what nobody tells you about getting those cuttings to root like a pro.
Branch Selection: When choosing your branch in Step 1, look for one that's flexible but not brittle—it should bend slightly without snapping. This indicates healthy, vigorous growth. I've found that branches with a slight reddish tint often root faster, though this varies by variety. Avoid branches with any signs of yellowing or black spots, even if they look otherwise healthy.
Cutting Angle: That 45-degree angle in Step 1 isn't just for looks—it increases the surface area for root formation by about 40%. Make sure your cut is smooth and clean, not jagged. If your pruning shears aren't sharp, the cut will crush the stem instead of making a clean slice, which can prevent root growth. A quick test: if the cut feels rough, sharpen your shears first.
Humidity Control: In Step 3, maintaining that humidity dome is crucial, but don't overdo it. The 10-minute daily air circulation prevents mold from forming on your cutting. I've learned this the hard way—once I left a cutting covered for a week straight, and it developed a nasty black mold that killed it. Keep the bag slightly open if you notice condensation forming inside.
Root Check: When testing for roots in Step 3, gently tug on the cutting—you should feel slight resistance after about 4-6 weeks, but don't pull hard enough to damage potential roots. I've found that cuttings with at least two new leaves at the top usually have good root systems, even if you can't see them. This visual cue saves me from accidentally pulling out cuttings that are almost ready to transplant.
Pro Tips for How Do You Take A Cutting From A Fig Tree
- Here's what nobody tells you about getting those cuttings to root like a pro.
- Branch Selection: When choosing your branch in Step 1, look for one that's flexible but not brittle—it should bend slightly without snapping.
- Cutting Angle: That 45-degree angle in Step 1 isn't just for looks—it increases the surface area for root formation by about 40%.
Frequently asked questions
Got questions about propagating fig trees from cuttings? You’re not alone! Here are answers to the most common concerns—so you can grow with confidence.
When is the best time to take a fig tree cutting?
The ideal time is late winter to early spring (just before new growth starts) or summer after fruiting. Avoid taking cuttings in extreme heat or cold—aim for mild temperatures (60–75°F) for best rooting success. If you miss these windows, rooting hormone can help compensate!
How do I know if my fig cutting will root successfully?
Look for these signs of a healthy cutting: green, flexible stems (not woody), 2–4 leaf nodes, and no signs of disease (like spots or wilting). Avoid cuttings with flowers or fruit—they drain energy and slow rooting. Healthy = higher success!
What if my fig cutting rots instead of rooting?
Rotting usually means too much moisture or poor airflow. Troubleshoot by:
While possible, water propagation works better for some fig varieties (like Ficus carica ‘Brown Turkey’). Fill a jar with room-temperature water, submerge the cutting only at the node, and change the water every 3–4 days. Roots may appear in 4–8 weeks, but transplant to soil once roots are 2+ inches long for stronger growth. No problem! Try these alternatives:
Label your cuttings with the date and variety (if known) to track progress. Use a sharp pencil or plant tag—fig trees grow fast, and you’ll thank yourself later!
If rot starts, trim the affected area and replant in fresh, sterile soil.
Can I propagate fig trees from cuttings in water first?
What if I don’t have a mature fig tree to take cuttings from?
Grafting onto a hardy rootstock (like Ficus carica) is another option for rare varieties.
Pro Tip:
Wrapping up and next steps
Taking a cutting from a fig tree is a rewarding way to expand your garden or share this fruit-bearing beauty with others!
With the right timing, tools, and care—like choosing healthy branches, using rooting hormone, and maintaining moisture—you’ll soon have thriving new plants. Don’t let a few setbacks discourage you: even experienced gardeners face challenges, but persistence pays off.
Now that you’re armed with the know-how, why not try it this season? Grab your pruners, pick a sunny spot, and watch your fig tree cuttings grow into lush, fruitful additions to your garden. Happy propagating! 🌱✨