Pruning
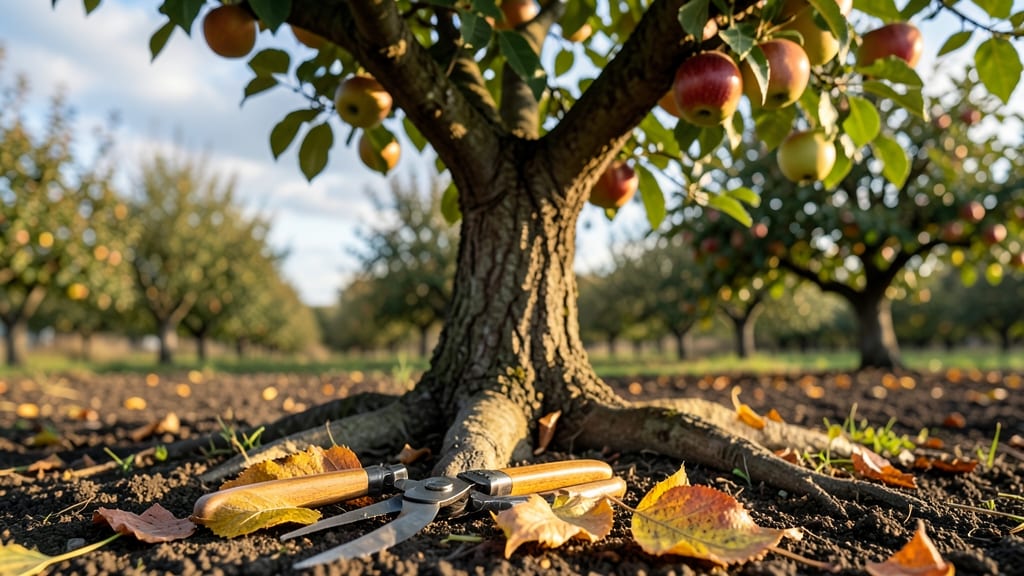
Autumn apple tree pruning isn’t just about shaping branches—it’s your tree’s secret weapon for next year’s harvest. 🌳 I learned this the hard way after my first winter storm snapped off half my branches, leaving me scrambling to rebuild.
The key is timing: late autumn, after leaves fall but before hard frost, when the tree’s energy reserves are still active but dormant growth has slowed.
You’ll need sharp pruners, a ladder if branches are high, and a clear day to work. Start by removing dead, diseased, or crossing branches first—these are the easy wins that instantly improve airflow and light penetration.
Then focus on thinning the canopy by cutting back about 20-30% of the smallest growth to encourage stronger, fruit-bearing branches in spring.
The payoff? Fewer broken limbs in winter storms, more sunlight reaching inner branches, and a tree that puts energy into fruit production instead of weak, crowded growth. By next summer, you’ll notice thicker limbs and a shape that actually supports the weight of apples without sagging.
It’s the kind of maintenance that turns a struggling tree into a productive powerhouse.
Works for both young trees and mature ones, though the approach shifts slightly—young trees need more aggressive shaping, while older trees focus on cleanup and structural support. Here’s how to do it right without over-pruning or inviting pests. Let’s get those branches under control before winter hits.
📚 In This Guide
- What you need
- Instructions
- Tips and common mistakes
- Wrapping up and next steps
What you need
- ● Pruning shears: Bypass pruners (sharp, 6–8" blades) for small branches. Quantity: 1 pair.
- ● Loppers: For thicker branches (1–2" diameter). Quantity: 1 pair.
- ● Pruning saw: For branches >2" thick. Specs: Curved blade, 18–24" length.
- ● Disinfectant: 70% isopropyl alcohol or pruning sealant (to prevent disease spread). Quantity: Small bottle.
- ● Gloves: Heavy-duty, cut-resistant (to protect hands from thorns). Quantity: 1 pair.
- ● Work boots: Sturdy, ankle-supportive (for uneven terrain).
- ● Ladder: Extendable or step ladder (if tree is >10 ft tall). Specs: Non-slip base.
- ● Trash bags: For collecting pruned branches. Quantity: 2–3 large bags.
- ● Hand saw (for stubborn, oversized branches).
- ● Pruning paint (to seal large cuts >½" diameter).
- ● Tree wound dressing (controversial but useful for severe cuts).
- ● Safety glasses (to shield eyes from debris).
- ● Notebook & pencil (to sketch pruning plan or track progress).
Step-by-step instructions for autumn apple tree pruning
Here's how to trim your apple tree in fall for a healthier, more productive spring.
✂️ Step 1: Remove Dead, Diseased, or Damaged Branches
Start by identifying branches that are clearly dead, diseased, or physically damaged. These are your top priority—they won’t recover and can spread problems to healthy wood. Look for branches with no leaves, brown or blackened bark, or signs of fungal growth like cankers or oozing sap. Use clean, sharp pruning shears to make your cuts.
Make your cuts just outside the branch collar—the swollen area where the branch meets the trunk. This ensures the tree can seal the wound properly. If the branch is thicker than 2 inches, use a pruning saw instead. Always cut at a slight angle to prevent water from pooling on the wound, which can lead to rot.
🌿 Step 2: Thin Out Overcrowded or Crossing Branches
Next, focus on thinning the canopy to improve airflow and sunlight penetration. Remove branches that are rubbing against each other or growing inward toward the center of the tree. These "water sprouts" or "suckers" compete with the main structure for nutrients and often grow weakly. Aim to open up the tree’s interior so light reaches the lower branches.
When thinning, never remove more than 25% of the tree’s foliage in one session—this prevents stress. Start with the smallest branches first and work your way up. If you’re unsure whether a branch is necessary, leave it for now. You can always come back later if the tree looks too dense. The goal is to create a balanced, open structure that encourages strong growth in spring.
☀️ Step 3: Shape the Tree for Balance and Airflow
Now it’s time to refine the tree’s shape. Apple trees benefit from an open-center form, where the main branches spread outward like a vase. This shape allows sunlight and air to circulate freely, reducing the risk of fungal diseases like apple scab. Focus on maintaining a strong central leader (the main upright stem) and well-spaced scaffold branches.
Use hand pruners for branches up to ½ inch thick and a pruning saw for larger limbs. Always make cuts just outside a bud or branch collar, and avoid leaving stubs. If you’re unsure about a cut, step back and visualize how the tree will look after pruning. A well-shaped apple tree will reward you with better fruit production and easier maintenance in the years to come.
🪴 Step 4: Clean Up and Sanitize Tools
After pruning, gather all the cuttings and dispose of them properly. Diseased branches should be burned or placed in a sealed trash bag to prevent spores from spreading. Healthy trimmings can be chopped into smaller pieces and used as mulch around the base of the tree. Avoid piling mulch directly against the trunk, as this can trap moisture and encourage rot.
Finally, sanitize your pruning tools with rubbing alcohol or a bleach solution to kill any lingering bacteria or fungi. Wipe down the blades thoroughly and store them in a dry place. Keeping your tools clean is one of the best ways to prevent disease from spreading to your tree—or to other plants in your garden. A little effort now saves headaches later.
Tips & tricks for perfect autumn apple tree pruning
Real talk: A little strategic pruning now makes all the difference for next year's harvest.
Timing is Everything: Late autumn is ideal because the tree's dormant state means less stress from bleeding sap. I always prune after the first hard frost but before the ground freezes completely—this window typically falls between November and early December in most climates. The tree won't be actively growing, so it can focus energy on healing wounds rather than producing new leaves.
Tool Sharpness Matters: Dull blades crush wood fibers instead of making clean cuts, which invites disease. Before you start, sharpen your pruning shears and saw with a file or sharpening stone. I test my tools by making a clean cut through a piece of newspaper—if it tears the paper, your blades need sharpening. For branches thicker than 2 inches, a pruning saw with a fine-toothed blade prevents tearing that can damage the tree's bark.
Visualize the Future Shape: Before making any cuts, step back and imagine how the tree should look after pruning. Apple trees thrive with an open-center form where sunlight reaches all branches. I sketch a rough outline on paper first—this helps me see which branches to remove to create that vase-like shape. Focus on maintaining the central leader (main upright stem) and removing branches that grow at sharp angles, as these are more prone to breaking in storms.
Wound Care is Critical: When you make a cut, you're essentially creating an open wound on the tree. Always cut just outside the branch collar at a slight angle to prevent water from pooling. For larger branches, make a second cut slightly farther out if needed, but never leave a stub. I've seen too many pruning mistakes where improper cuts led to rot—taking the extra second to do it right saves headaches later. After pruning, apply a thin layer of pruning sealant to larger wounds (over ½ inch) to prevent disease entry points.
Pro Tips for Autumn Apple Tree Pruning
- Real talk: A little strategic pruning now makes all the difference for next year's harvest.
- Timing is Everything: Late autumn is ideal because the tree's dormant state means less stress from bleeding sap.
- Tool Sharpness Matters: Dull blades crush wood fibers instead of making clean cuts, which invites disease.
Frequently asked questions
Got questions about autumn apple tree pruning? You’re not alone! Here are answers to the most common concerns—so you can trim with confidence and set your tree up for a fruitful spring.
When is the exact best time to prune apple trees in autumn?
Prune apple trees in late autumn (November–early December) after leaves fall but before hard frosts. Avoid pruning too early—diseases thrive in wet autumn conditions. If your area has mild winters, wait until dormancy (when the tree stops growing) to minimize stress. Pro tip: Check your local frost dates for precision!
Can I prune apple trees in winter, or should I wait for spring?
Winter pruning (January–February) is safe if the tree is dormant, but autumn is ideal for removing deadwood and shaping. Spring pruning (just before buds swell) focuses on fruit production. If you miss autumn, don’t worry—just avoid heavy cuts in late winter, as new growth can be damaged by late frosts. Key rule: Never prune when sap is flowing (early spring)!
How do I know if I’m pruning too much or too little?
Apple trees thrive with 10–25% of the canopy removed per year. Signs of over-pruning: excessive water sprouts, weak growth, or no fruit. Too little? Look for crowded branches, disease buildup, or poor air circulation. Aim for an open-center shape—remove dead, diseased, or crossing branches first. Remember: It’s better to prune lightly now and repeat next autumn than to overdo it!
Will autumn pruning affect next year’s apple harvest?
No—autumn pruning boosts next year’s harvest by improving air flow (reducing disease) and sunlight (better fruit development). Focus on structural cuts (removing suckers, water sprouts, and weak limbs) rather than fruit-bearing branches. Exception: If you prune heavily in autumn, delay major cuts until late winter to avoid stress. Bonus: Pruned trees often produce larger, higher-quality apples!
What if my apple tree has fire blight or other diseases? Should I prune differently?
Yes! For fire blight or fungal diseases, prune only in dry weather (afternoon is best). Cut 6–12 inches below infected areas (diseases hide in buds). Sterilize tools with 10% bleach solution between cuts. Avoid autumn pruning if rain is forecast—wet conditions spread spores. Prevention tip: Remove fallen leaves and debris after pruning to reduce disease risk.
Wrapping up and next steps
Pruning your apple tree in autumn isn’t just about tidying up—it’s an investment in next year’s healthier harvest and vibrant growth! By removing dead wood, thinning crowded branches, and shaping your tree now, you’re giving it a head start for spring.
Remember, patience and precision are key—take your time, and your tree will thank you with lush blooms and juicy fruit.
Ready to roll up your sleeves? Grab your tools, mark your calendar for late autumn (just before dormancy), and get pruning! 🍂✂️ Your future orchard—and future apple pies—will thank you.