
Trees
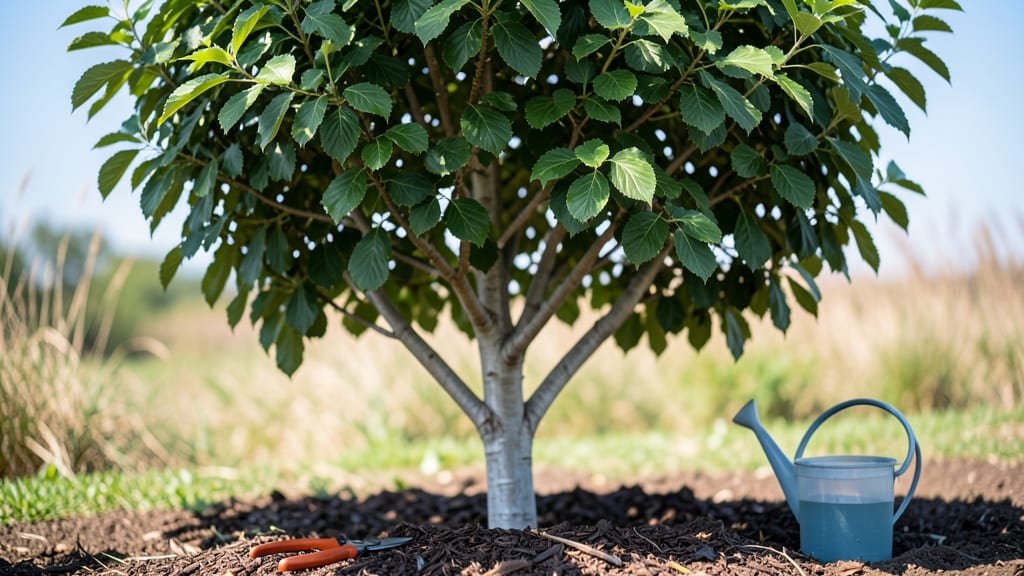
Planting a service berries tree (Amelanchier spp.) turns your yard into a four-season showstopper—cold-hardy, edible, and stunning from spring blossoms to winter berries. 🌿 I still remember the first time I saw one in full bloom: the white flowers against the dark bark looked like a watercolor painting come to life.
This tree thrives where others struggle, giving you both beauty and harvest in zones 3 through 8.
The secret to success starts with the right spot: full sun to partial shade and well-draining soil (even rocky ground works). Service berries handle drought once established, but young trees need consistent moisture—think of it as giving them a strong foundation before they become the self-sufficient survivors they’re known for.
The berries themselves are sweet-tart, perfect for jams or fresh snacking, and birds adore them too.
You’ll get three seasons of interest: fragrant spring blooms, edible summer berries, and fiery fall foliage that outshines most maples. The tree stays compact (15–25 feet tall), making it ideal for small yards or as a specimen plant.
Prune lightly in late winter to shape it, and watch as it becomes the centerpiece of your landscape—without the fuss of high-maintenance plants.
Common challenges? Few. Deer usually avoid them, and pests rarely target this tree. The biggest mistake is overwatering—service berries hate soggy roots. Once planted, they’re basically set-and-forget, rewarding you with decades of low-maintenance beauty and harvest. Ready to add one to your yard?
📚 In This Guide
- What you need
- Instructions
- Tips and common mistakes
- Wrapping up and next steps
What you need
- ● Service berries tree: 1–3 bare-root or container-grown saplings (3–5 ft tall for faster fruiting)
- ○ Optional: Seeds (requires stratification; germination can take 1–2 years)
- ● Soil amendments: 4–6 inches of well-draining compost (e.g., leaf mold, aged manure, or peat moss)
- ● 1–2 cups of balanced fertilizer (10-10-10 or organic option like bone meal)
- ○ Optional: Gypsum (1 lb) if soil is heavy clay
- ● Planting tools: 1 shovel or spade (for digging)
- ● 1 hand trowel (for soil adjustments)
- ● 1 pruning shears (sterilized, for trimming)
- ○ Optional: Root stimulator gel (for transplant shock)
- ● Mulch: 2–3 inches of organic mulch (wood chips, straw, or pine needles)
- ● Watering supplies: 1 garden hose with adjustable nozzle or watering can
- ○ Optional: Drip irrigation kit (for consistent moisture)
- ● Location: Full sun to partial shade (6+ hours of sunlight daily)
- ● Well-draining soil (pH 5.0–7.0; tolerates acidic to neutral)
- ● Cold-hardy zones: 3–8 (check your USDA zone!)
- ● Spacing: 10–15 feet apart for single trees (or closer for hedgerows)
- ● Seasonal timing: Best planting time: Early spring or fall (avoid extreme heat/cold)
Step-by-Step guide for planting and caring for a serviceberry tree
Here's how I've learned to plant these hardy trees for maximum resilience and fruit production.
🌱 Step 1: Choose and Prepare the Planting Site
Serviceberries thrive in full sun to partial shade, so pick a spot with at least 6 hours of sunlight daily. These trees tolerate a wide range of soil types but perform best in well-draining soil with a pH between 5.0 and 7.0. If your soil is heavy clay, amend it with 2-3 inches of compost mixed into the top 12 inches of soil.
Dig a hole twice as wide as the tree's root ball but no deeper. The top of the root ball should sit 1-2 inches above ground level—this prevents water from pooling around the trunk. Loosen the sides of the hole with a shovel to encourage root spread into surrounding soil.
🌿 Step 2: Plant the Tree Properly for Long-Term Health
Gently remove the tree from its container and inspect the roots. If they're circling tightly, use your hands to tease them outward. Place the tree in the hole so the root flare (where roots meet trunk) is visible above the soil line. This prevents water from sitting against the trunk and causing rot.
Fill the hole with native soil, tamping it down lightly every 3-4 inches to remove air pockets. Water deeply to settle the soil around the roots, then add a 2-inch layer of mulch (like wood chips) extending 3 feet outward from the trunk. Keep mulch 6 inches away from the trunk to prevent moisture buildup.
☀️ Step 3: Water and Fertilize for Establishment
Water the tree deeply twice a week for the first month, then reduce to once a week once new growth appears. Serviceberries are drought-tolerant once established, but young trees need consistent moisture. You'll know it's getting enough water when the soil 1-2 inches down feels slightly damp—not soggy, not bone-dry.
Apply a balanced, slow-release fertilizer (like 10-10-10) in early spring and again in mid-summer. Use ½ cup per year of tree age (max 1 cup for mature trees). Over-fertilizing leads to weak growth and fewer berries—these trees are more about resilience than rapid growth.
✂️ Step 4: Prune for Shape and Fruit Production
Prune in late winter or early spring before buds swell. Remove dead, diseased, or crossing branches first, then thin out 10-20% of the canopy to improve airflow. Cut just outside the branch collar (the swollen area where the branch meets the trunk) to promote fast healing.
Serviceberries produce fruit on both old and new wood, so avoid heavy pruning. Focus on shaping the tree rather than reducing size. You'll see the best fruit production on trees with an open, vase-like structure—this lets sunlight reach inner branches where berries form.
Tips & tricks for perfect serviceberry tree planting
These simple strategies will help your serviceberry tree thrive in any climate—especially if you're working with less-than-ideal conditions.
Soil Prep Secret: Before planting, test your soil's pH with a simple kit from your local garden center. Serviceberries prefer that 5.0-7.0 range, but if your soil tests outside this, you can adjust it with lime (to raise pH) or sulfur (to lower it). I've found that amending with 2-3 inches of compost not only improves drainage but also introduces beneficial microbes that help roots establish faster.
Root Care Technique: When you're teasing out those circling roots in Step 2, don't just pull them—gently spread them outward like spokes on a wheel. This encourages outward growth rather than tight root balls that can strangle themselves. After planting, give the roots a final check to make sure none are still curled up against the sides of the hole.
Watering Wisdom: The twice-weekly watering schedule in Step 3 works perfectly, but here's the trick: water in the morning so the soil has all day to dry slightly before nightfall. Wet soil at night can invite fungal problems, especially in cooler climates. And when you're checking that 1-2 inches down for dampness, use a clean screwdriver—it's more precise than your finger and won't introduce contaminants.
Pruning Pro Tip: That 10-20% canopy thinning in Step 4 might sound vague, but here's how to think about it: aim to remove branches that are rubbing against each other or growing straight up. These are the ones that create weak points and block sunlight from reaching inner branches where fruit develops. I like to visualize the tree as an open umbrella—you want air and light to flow through all the way to the center.
Pro Tips for Service Berries Tree
- These simple strategies will help your serviceberry tree thrive in any climate—especially if you're working with less-than-ideal conditions.
- Soil Prep Secret: Before planting, test your soil's pH with a simple kit from your local garden center.
- Root Care Technique: When you're teasing out those circling roots in Step 2, don't just pull them—gently spread them outward like spokes on a wheel.
Frequently asked questions
Got questions about growing and maintaining a serviceberry tree? You’re not alone! Here are answers to the most common queries to help you thrive with this cold-hardy, multi-seasonal gem.
What’s the best time to plant a serviceberry tree?
Plant your serviceberry in early spring or fall when soil is workable but not frozen. Avoid extreme heat or drought—young roots need moisture to establish. For container-grown trees, plant anytime the ground isn’t frozen, but water deeply afterward to reduce transplant shock.
How cold-hardy are serviceberry trees?
Serviceberries shine in cold climates! Most varieties tolerate USDA Zones 3–7, with some hybrids surviving down to -40°F. Their resilience makes them perfect for northern gardens—just ensure well-draining soil to prevent winter root rot.
When do serviceberries ripen, and how do I know they’re ready?
Ripening depends on the variety, but most serviceberries mature in late summer to early fall. Look for dark purple-black berries that soften slightly when gently squeezed. They’ll smell sweet and taste tart—like a mix of blueberry and almond!
Are serviceberries good for wildlife, and do I need to protect them?
Birds, deer, and pollinators love serviceberries. While young trees may need protection from rabbits, mature trees rarely face pests. If birds strip fruit early, try netting or harvesting in stages to share the bounty.
Can I grow a serviceberry in a container, or does it need ground planting?
Young serviceberries can thrive in large containers (20+ gallons) for 2–3 years, but they’re not long-term pot plants. For best growth, transplant to the ground by Year 3. Choose a deep, wide container with drainage holes and amend soil with compost for nutrients.
How do I prune a serviceberry tree for better fruit production?
Prune in late winter or early spring before buds swell. Remove dead, crossing, or crowded branches to improve airflow. Avoid heavy pruning—serviceberries produce fruit on older wood. Thin out excess suckers at the base to focus energy on the main trunk.
Wrapping up and next steps
Growing a service berries tree is a rewarding way to enjoy a year-round harvest while thriving in cold climates—no green thumb required! 🌱 From early spring blossoms to late-winter berries, this hardy tree delivers beauty, nutrition, and minimal fuss.
Whether you’re a homesteader, urban gardener, or wildlife enthusiast, its resilience and versatility make it a standout addition to any landscape.
Ready to plant your own? Start by selecting a healthy sapling, prepping your soil, and giving it the right care. With patience and a little attention, you’ll soon be savoring fresh berries and watching birds flock to your yard—one berry at a time! 🍒✨