Pruning
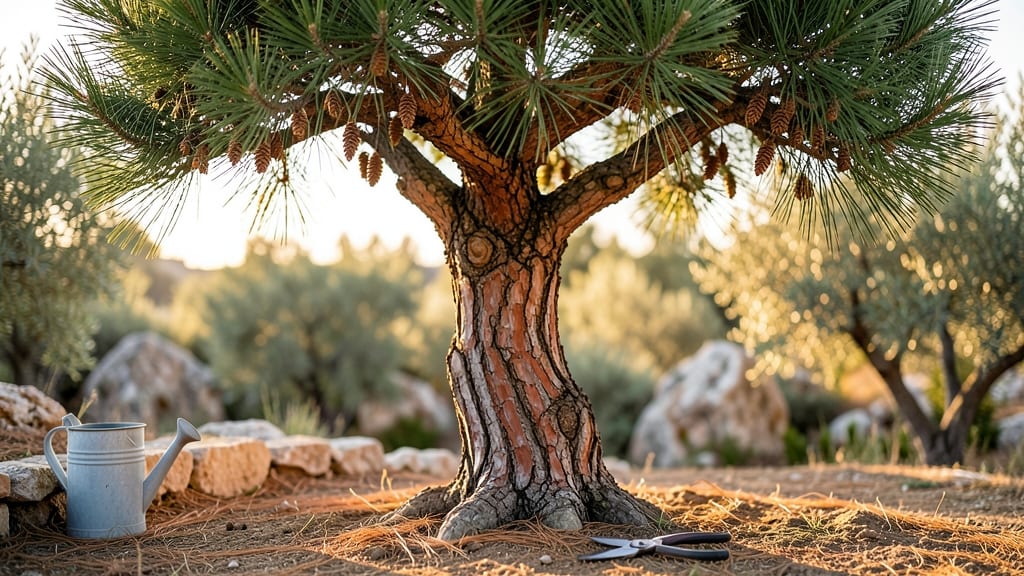
Your pine tree’s yellowing needles might not be from age—they’re screaming for the right pine tree pH balance. Late-winter pruning isn’t just about shaping branches; it’s your chance to reset soil health and give your tree’s canopy the strong foundation it needs for summer growth.
I’ve watched struggling pines transform after adjusting their soil pH—needles turn vibrant green within months, and new growth thickens like a well-oiled machine.
The fix starts with a simple soil test (or a DIY vinegar/baking soda check) to see if your soil is too alkaline or acidic.
Most pines thrive in acidic soil (pH 4.5–6.0), but regional differences matter—southern pines often need extra sulfur, while northern varieties might just need organic matter like pine needles or peat moss. Forget quick fixes: we’re talking long-term soil health, not band-aids.
By spring, you’ll notice stronger branch structure and fewer brown needles falling. The key is patience—it takes 6–12 months for soil pH to stabilize, but the payoff is a pine tree that looks like it’s been in your yard for decades, not years.
And the best part? You’ll skip the pruning headaches next winter because a healthy tree grows fuller naturally.
This works for container pines too—just swap soil entirely if your current mix is off. Whether you’re fixing an old tree or setting up new saplings, the principle stays the same: feed the roots right, and the canopy will follow. Let’s get those needles glowing again.
📚 In This Guide
- What you need
- Instructions
- Tips and common mistakes
- Wrapping up and next steps
What you need
- ○ Pruning shears: Bypass pruners (sharp, 6-8" blades) for small branches (¼"–¾" thick). Optional: Anvil pruners for thicker branches (but risk crushing wood).
- ● Loppers: Bypass-style (20-24" handles) for branches ¾"–2" thick.
- ● Pruning saw: Curved-tooth (for branches 2"+ thick). Pro tip: 💡 Wipe blades with rubbing alcohol before/after to prevent disease spread!
- ● Ladder: Extension or step ladder (24–32' tall, non-slip feet) for high branches. Safety first: 🔥 Never stand on the top 3 rungs!
- ● Gloves: Heavy-duty, cut-resistant (e.g., Mechanix or leather) to protect hands from sap and sharp edges.
- ● Disposable pruning bags: 10–20 gallon capacity (for collecting debris). Eco-friendly tip: ✨ Compost branches if disease-free!
- ● Hand sanitizer or rubbing alcohol: 70% isopropyl (for sterilizing tools between cuts).
- ● Safety gear: Closed-toe shoes or sturdy boots.
- ● Safety glasses (to shield from flying debris).
- ● Long sleeves/pants (to avoid sap burns).
- ● Pole saw: For branches 2"–4" thick (extends reach without a ladder).
- ● Tree wound dressing: Pruning sealant (controversial—skip unless dealing with large wounds >1" diameter).
- ● Magnifying glass: 10x magnification (to inspect for pests/disease up close).
- ● Spray bottle with water: For rinsing tools if alcohol isn’t available.
- ● Camera or phone: With a timer (to document "before" shots for tracking growth!).
- ● Weather check: Prune on a dry, calm day (avoid wind/rain).
- ● Timing: Late winter (just before new growth starts—typically February–March in most of the U.S.).
- ● Tree health: Only prune healthy pines. Skip if branches show signs of pine wilt (PH) disease (needle browning, resin oozing).
- ● Local regulations: Check if your area requires permit for tree work (especially for large pines).
Instructions for late-winter pruning to boost pine tree canopy health
Here's how to refresh your pine trees without stressing them—timing and technique make all the difference.
Choose the Right Time and Tools
Prune in late winter after the worst cold snaps pass but before new growth begins—typically February through early March in most climates. This timing lets the tree heal before summer stress. I always use clean, sharp pruning shears (sterilized with rubbing alcohol) and loppers for thicker branches. Dull tools crush branches, inviting disease.
Look for dead, diseased, or crossing branches first—these are your priority. Healthy pines have bright green needles that feel slightly stiff when pinched. If you see yellowing, browning, or sparse clusters, those branches need removal. Never prune more than 25% of the canopy in one season—pines are sensitive to over-pruning.
Remove Dead and Problematic Branches First
Start with dead branches—they’re easy to spot as they’re brown, brittle, and often crisscrossing others. Cut these back to the main trunk or a healthy lateral branch, making cuts at a 45-degree angle just outside the branch collar. This prevents water from pooling and rotting the wound.
Next, tackle crossing or rubbing branches. These compete for sunlight and nutrients, weakening the tree. Remove the smaller of the two branches, cutting back to a healthy lateral branch. If both are equal in size, prune the one growing upward—this opens the canopy for better airflow and sunlight penetration.
Thin the Canopy for Airflow and Light
Pines thrive when their canopy gets good airflow and sunlight. Focus on selective thinning—remove branches that block light from reaching the inner canopy. Aim to reduce density by 10-15% total. You’ll know you’re doing it right when you can see light filtering through the branches from below.
Watch for candelabra branches—those that grow straight up without lateral branches. These are prime candidates for pruning to encourage a fuller shape. Cut them back to a strong lateral branch or the main trunk if no laterals exist. Avoid "heading back" (cutting back to a bud)—pines respond poorly to this method and often produce weak growth.
Clean Up and Monitor for Recovery
After pruning, sterilize your tools again and dispose of debris properly—burning or bagging diseased branches prevents spores from spreading. Water the base of the tree deeply if the ground isn’t frozen, but avoid overwatering. Pines prefer well-draining soil, and soggy roots invite rot.
In the weeks following, keep an eye out for new growth—this is your sign the tree is healing. If you see excessive sap oozing from cuts, the pruning was too aggressive. In that case, reduce watering slightly and avoid fertilizing until the tree shows strong, dark green needles by early spring.
Tips & tricks for late-winter pine tree pruning
These practical insights will help you prune with confidence while keeping your pine trees healthy and thriving.
Timing is Everything: The late winter window—February through early March—is critical because it allows the tree to heal before summer's heat stress. If you're in a warmer climate where winter is mild, aim for the cooler months before buds begin to swell. I've seen trees recover poorly when pruned too early, so don't rush—wait until the last frost has passed in your area.
Tool Selection Matters: Using clean, sharp tools can't be overstated. I've made the mistake of using dull shears that crushed branches instead of making clean cuts, which led to disease entry points. Sterilize your tools with rubbing alcohol between cuts, especially if you're working with multiple trees. For branches thicker than your wrist, loppers are essential—they give you the leverage needed for clean cuts without tearing the bark.
Visual Cues for Healthy Pruning: When thinning the canopy, look for light filtering through the branches from below—that's your sign you're doing it right. For candelabra branches (those growing straight up), cut back to a strong lateral branch or the main trunk. Avoid cutting back to buds, as this often results in weak, spindly growth. I learned this the hard way after seeing several trees develop weak new growth after improper pruning.
Recovery Monitoring: After pruning, watch for new growth as your sign the tree is healing properly. If you notice excessive sap oozing from cuts, this indicates you've been too aggressive. In this case, reduce watering slightly and avoid fertilizing until you see strong, dark green needles by early spring. This recovery phase is just as important as the pruning itself.
Pro Tips for Pine Tree Ph
- These practical insights will help you prune with confidence while keeping your pine trees healthy and thriving.
- Timing is Everything: The late winter window—February through early March—is critical because it allows the tree to h...
- Tool Selection Matters: Using clean, sharp tools can't be overstated. I've made the mistake of using dull shears that...
Frequently asked questions
Got questions about pruning your pine trees in late winter? You’re not alone! Here are some of the most common concerns—and straightforward answers—to help you get started with confidence.
When is the exact best time to prune pine trees in late winter?
Late winter is ideal, but timing matters! Aim for after the coldest snap but before new growth begins—typically February to early March in most U.S. zones. If you’re in a warmer climate, wait until late February or even early April. Pro tip: Check local frost dates to avoid stressing the tree.
Can I prune a pine tree too much? What’s the “right” amount?
Pines are resilient, but never remove more than 20-25% of the canopy at once. Focus on dead, diseased, or crossing branches—avoid “thinning out” healthy foliage. Over-pruning weakens the tree and can invite pests. For young pines: Light trimming (5-10%) is plenty; mature trees can handle more if done gradually.
What should I never do when pruning pine trees?
Avoid these big mistakes:
- Topping the tree: Cutting the main stem leaves “stubs”—this causes weak, bushy growth.
- Pruning in wet weather: Moisture spreads disease; wait for dry, calm days.
- Using dull tools: Jagged cuts tear bark, inviting infections.
- Ignoring the “candle” (new growth): Never prune past last year’s growth—it’s the tree’s energy source!
Are there pine tree species that shouldn’t be pruned in late winter?
Most pines tolerate late-winter pruning, but avoid it for:
- Ponderosa pine (prune in summer to prevent beetle infestations).
- Eastern white pine (prune in early spring to avoid fungal risks).
- Young seedlings (<3 years old): Skip pruning entirely—they’re still establishing roots.
When in doubt, research your specific pine species or consult a local arborist!
What if my pine tree looks stressed after pruning? How do I fix it?
Stress is normal, but watch for these signs and act fast:
- Yellowing needles: Likely from over-pruning or drought. Water deeply and avoid pruning for a year.
- Sap oozing from cuts: Seal with pruning sealant (optional for pines, but helps in wet climates).
- Pests/insects: Inspect for sawdust-like frass or boreholes. Treat with neem oil or contact a pro.
Good news: Pines recover quickly if you’ve followed the 20% rule and used clean cuts!
Wrapping up and next steps
Pruning your pine tree in late winter isn’t just about tidying up—it’s a power move for healthier, fuller growth and long-term resilience. By following the right techniques and timing, you’re setting your tree up for stronger branches, better airflow, and a canopy that thrives year-round. 🌲✨
Now that you’re armed with the know-how, grab those tools and get pruning! Start small if you’re new, and remember: patience and precision pay off. For extra confidence, bookmark this guide or share it with fellow gardeners—because the best pruning happens when we learn together.