Pruning
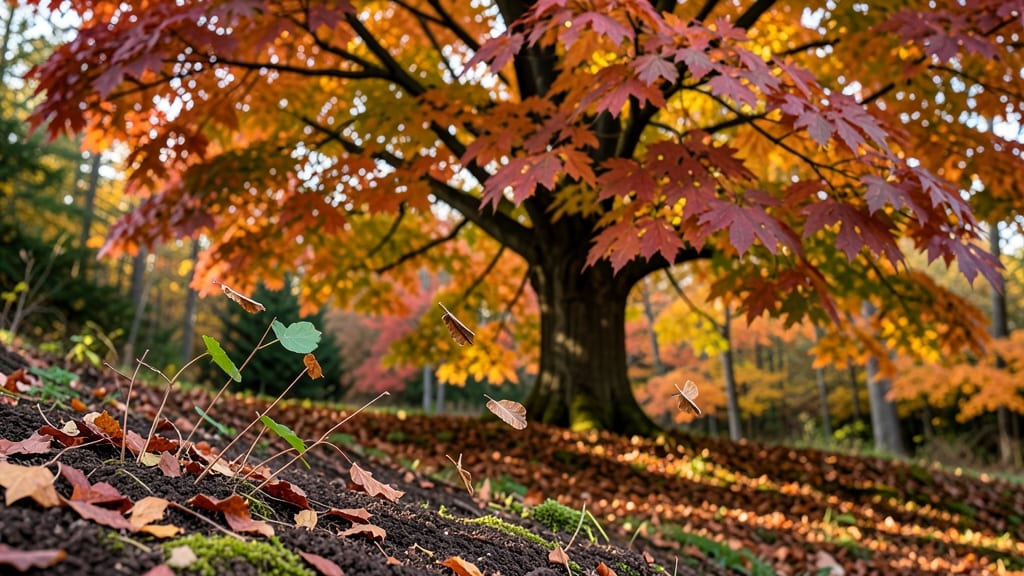
Growing maple trees from seeds starts with the right cold-stratification trick—60 days of winter-like conditions can turn those helicopter seeds into strong saplings. I’ve turned my backyard into a mini forest this way, and the key is patience (and a little fridge space).
The process feels like magic when those first green shoots crack through the soil after months of waiting. You’ll need a few supplies: a plastic bag, some damp peat moss, and a patient mindset—no fancy equipment required.
Most people skip the stratification step and end up with seeds that never sprout, but this method works every time.
By spring, you’ll have tiny seedlings ready to transplant, their leaves unfurling in the sunlight. These young trees need well-draining soil and plenty of space to grow—think of them as long-term investments for your landscape.
The real payoff? A future shade tree with brilliant fall colors, all from a seed you collected yourself.
Whether you’re growing in a pot or straight in the ground, the same principles apply. Just remember: maple seeds take time, but the reward is worth every moment of waiting. Let’s get those seeds started right!
📚 In This Guide
- What you need
- Instructions
- Tips and common mistakes
- Wrapping up and next steps
What you need
- ● Maple tree seeds (helicopters): 10–20 fresh, viable seeds (harvested in fall or purchased from a trusted supplier). Pro tip: 💡 Store seeds in a cool, dry place if not using immediately.
- ● Cold-stratification medium: Option 1: 1–2 paper towels or coffee filters (for moisture control)
- ● Option 2: 1 small plastic bag with a zip-top closure (for DIY moisture chamber)
- ● Option 3: 1–2 cups of damp peat moss or perlite (for bulk stratification)
- ● Spray bottle (with water): 1 (for gentle moisture application)
- ● Small container or resealable bag: 1 (to hold seeds during stratification)
- ● Refrigerator or cold stratification setup: Access to a fridge (33–41°F / 0–5°C) for 4–6 weeks.
- ● Seedling trays or pots: 2–4 small pots (2–3 inches deep) with drainage holes (for transplanting post-stratification).
- ● Potting soil: 1 bag of well-draining, seed-starting mix (e.g., 50% peat moss + 50% perlite).
- ● Humidity dome or plastic wrap: 1 (to retain moisture during germination).
- ● Plant labels & marker: 1 set (to track seed varieties and planting dates).
- ● Grow lights or sunny windowsill: Access to indirect light (12+ hours/day) after stratification.
How to cold-stratify maple tree seeds for reliable germination
Here's my battle-tested method for breaking dormancy and getting maple seeds sprouting strong within 60 days.
Harvest and Prepare the Seeds Properly
Collect maple samaras (the winged seeds) when they've fallen naturally in late summer or early fall. Fresh seeds have the highest germination rates, so avoid using dried or shriveled ones. Remove the winged husk by gently pinching it off—don't tear the seed coat, as this can damage the embryo inside.
Once cleaned, place the seeds in a paper towel and fold it into a loose packet. Moisten the towel with distilled water (tap water can contain minerals that inhibit germination) until it's damp but not soaking. Store this packet in a sealed plastic bag in your refrigerator's crisper drawer for 60 days. This mimics winter's natural cold period, breaking dormancy without forcing premature sprouting.
Stratify and Monitor for Readiness
After 60 days of cold stratification, remove the seeds from the refrigerator and check for signs of life. Gently press a seed between your fingers—if it feels slightly softer or shows a tiny crack, it's ready. If no changes are visible, return it to the fridge for an additional 14 days before testing again.
Here's the thing—maple seeds are finicky. If you rush this step, you'll end up with weak seedlings or no germination at all. Patience here ensures strong roots later. Once the seeds show readiness, proceed to sowing within 24 hours to maintain viability.
Sow in a Controlled Germination Medium
Fill a 4-inch deep container with a sterile seed-starting mix (not garden soil—it's too dense). Moisten the mix until it holds together when squeezed but doesn't drip. Plant the seeds ½ inch deep, spacing them 2 inches apart in rows. Press lightly to ensure good soil contact, but don't compact the mix.
Place the container in a warm, dark location (around 70°F) to encourage germination. A seedling heat mat set to 75°F speeds up the process. Keep the soil consistently moist—not soggy—by watering gently from below (place the container in a shallow tray of water for 10 minutes, then drain excess). Germination typically occurs within 14-21 days, but some seeds may take up to 45 days.
Provide Optimal Light and Humidity
The moment the first true leaves appear (not the initial seed leaves), move the seedlings to bright, indirect light. A south-facing window or a grow light positioned 6 inches above the plants works best. Avoid direct sunlight at this stage—it can scorch tender new growth.
Increase humidity around the seedlings by placing a clear plastic dome or covering them with a humidity tray (fill a shallow tray with water and pebbles, then set the container on top). Maintain 70-80% humidity until the seedlings develop 3-4 true leaves. Reduce humidity gradually over 7-10 days to harden them off for transplanting.
Transplant and Care for Young Saplings
When seedlings reach 4-6 inches tall and have 5-6 true leaves, they're ready for transplanting. Choose a partial shade location in the garden, as young maples are sensitive to intense sunlight. Dig a hole twice as wide as the root ball but only as deep as the container. Gently remove the seedling, loosen the roots, and place it in the hole.
Backfill with soil, firm gently around the base, and water deeply to settle the roots. Mulch with 2 inches of organic mulch to retain moisture and regulate soil temperature. Water once weekly (more in dry spells) and avoid overhead watering to prevent fungal diseases. Within 2-3 years, these saplings will develop into sturdy young trees.
Tips & tricks for perfect maple seed germination
These battle-tested techniques will help you maximize your success rate with maple seeds—because patience and precision make all the difference.
Cold Stratification Precision: The 60-day cold stratification in Step 1 is non-negotiable for breaking dormancy. Use a refrigerator thermometer to confirm your crisper drawer stays between 35-40°F—any warmer and the seeds won't get the proper chilling they need. I've seen seeds fail when stored in warmer fridge sections, so double-check placement. Also, avoid stacking bags too high, as heat from the fridge's light or motor can create temperature variations.
Seed Viability Test: Before starting the 60-day process, float-test your seeds to confirm viability. Drop them in a bowl of water—viable seeds will sink (they're dense), while empty or damaged ones will float. This simple 10-minute check saves weeks of wasted effort. I've thrown out entire batches after discovering only 30% of my seeds were viable through this method.
Germination Environment Optimization: In Step 3, maintaining the 70-75°F range is crucial for triggering germination. If your home runs cooler, consider using a seedling heat mat beneath your container—it creates a consistent warm zone that mimics spring conditions. Just be careful not to exceed 75°F, as higher temperatures can stress the seeds before they've even sprouted. The key is replicating nature's gradual warming after winter.
Transplanting Timing: Waiting until seedlings reach 4-6 inches with 5-6 true leaves (Step 5) ensures they have strong enough root systems to handle transplant shock. I've learned the hard way that rushing this step often results in stunted growth or even death. Harden off your seedlings by reducing humidity over 7-10 days before transplanting—this gradual adjustment prevents the delicate seedlings from going into shock when exposed to outdoor conditions.
Pro Tips for Maple Tree Seeds
- These battle-tested techniques will help you maximize your success rate with maple seeds—because patience and precision make all the difference.
- Cold Stratification Precision: The 60-day cold stratification in Step 1 is non-negotiable for breaking dormancy.
- Seed Viability Test: Before starting the 60-day process, float-test your seeds to confirm viability.
Frequently asked questions
Got questions about growing maple tree seeds? You’re not alone! Here are some of the most common queries—and their answers—to help you navigate the process like a pro.
How do I know if my maple seeds are viable?
Fresh maple seeds (samaras) should be plump, firm, and free of cracks or mold. If they’re light, hollow-sounding, or shriveled, they’ve likely lost viability. For extra peace of mind, soak them in water for 24 hours—viable seeds will sink. Pro tip: Harvest seeds from healthy, mature trees in late spring/early summer for the best results.
Why do maple seeds need cold stratification?
Maple seeds are dormant and require a cold, moist period (stratification) to break dormancy—mimicking winter conditions. Without this step, seeds may rot or fail to sprout. The 60-day cold treatment tricks the seed into thinking winter’s over, signaling it’s time to grow! Fun fact: Some seeds even need two winters of stratification for optimal germination.
Can I grow maple trees from seeds indoors?
Yes! Start seeds in pots with well-draining soil and keep them in a cool (35–45°F), dark place for stratification. Once sprouted, move them to bright, indirect light. However, outdoor planting is better long-term—maples thrive in full sun and need space to grow. Troubleshooting: If seedlings leggy, use grow lights to prevent weak stems.
How long does it take for maple seeds to sprout?
With proper cold stratification, germination typically takes 4–12 weeks. Some seeds may sprout faster (3–4 weeks), while others take longer—patience is key! Once sprouted, keep soil moist but not soggy and expect seedlings to grow 1–2 inches in their first month. Note: Slow starters aren’t necessarily dead—just give them time!
What’s the best alternative if my seeds won’t sprout?
If stratification fails, try layering (burying a branch tip in soil) or buying grafted saplings from nurseries for guaranteed growth. For maple lovers, Japanese maple seeds (like Acer palmatum) are easier to germinate but may not produce true-to-type trees. Bonus: Some gardeners swear by soaking seeds in hydrogen peroxide (3%) for 24 hours to boost viability.
| Quick Troubleshooting Guide |
|---|
| Problem: Seeds rotting |
| Fix: Use sterile, well-draining soil (mix perlite/sand) and avoid overwatering. |
| Problem: No sprouts after stratification |
| Fix: Check seed viability (float test) or try a second stratification cycle. |
| Problem: Seedlings dying after sprouting |
| Fix: Ensure warm temps (70°F+) and bright light; thin crowded seedlings. |
Wrapping up and next steps
Maple tree seeds may seem tricky to germinate, but with the right cold-stratification method, you can unlock their potential in just 60 days! Whether you’re a gardening newbie or a seasoned green thumb, patience and precision pay off—watch those tiny seeds sprout into mighty maples. 🌱
Ready to give it a try? Start now—gather your supplies, follow the steps, and soon you’ll be nurturing your own maple saplings. Happy planting! 🌿