
Pruning
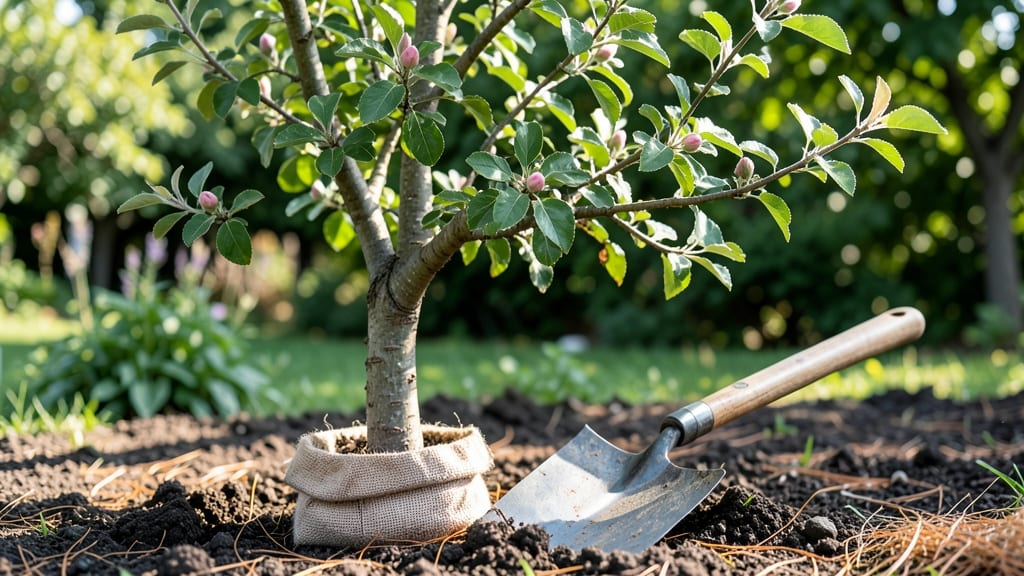
Relocating a small tree doesn't have to be a guessing game—it's all about timing, technique, and a little extra care. 🌳 I've moved saplings from shady corners to sunlit spots without losing a single one, and the secret lies in doing it right, whether it's a young maple or a dogwood with potential.
The best time to tackle this is on a cool, overcast day when the roots aren't fighting for moisture in the ground.
You'll need basic tools: a sharp shovel, burlap for wrapping roots, a wheelbarrow for moving, and a bucket of water to keep things hydrated. Prune any damaged branches beforehand, and dig a hole twice as wide as the root ball but no deeper—this prevents stress from being buried too deep.
The goal is to minimize root disturbance while giving your tree the best chance to settle into its new home.
After transplanting, water deeply to help roots establish, then mulch around the base to retain moisture and cool the soil. Keep watering regularly for the first few weeks, but avoid overdoing it—soggy soil suffocates roots just as much as dry soil.
You'll know it's working when new growth appears within a month or two, proving your tree is thriving in its new spot.
This method works for trees under 6 feet tall, whether you're fixing a crowded yard or creating a better landscape design. The key is patience—trees take time to adjust, but with the right approach, they'll thank you for years to come. Let's get that tree where it belongs!
📚 In This Guide
- What you need
- Instructions
- Tips and common mistakes
- Wrapping up and next steps
What you need
- ● Shovel or spade: A sharp-edged digging spade (16–18 inches wide) or a tree transplanting spade for cleaner cuts.
- ● Pruning shears or loppers: Bypass pruners (for small branches) or loppers (for thicker limbs, up to 2 inches in diameter).
- ● Garden hose or bucket: For watering before/after transplanting (at least 5 gallons).
- ○ Root stimulator or mycorrhizal fungi: Optional but helpful for faster root establishment (follow package instructions).
- ● Burlap or tree sack: 4–6 feet wide, to secure the root ball during transport.
- ● Stakes & twine: 2–3 wooden stakes (1–2 inches thick) and soft twine for temporary support.
- ● Wheelbarrow or dolly: To move the tree safely (ensure it’s sturdy and large enough for the root ball).
- ● Mulch: 2–3 inches of organic mulch (e.g., wood chips or pine straw) for the new planting site.
- ● Root pruning saw: For trimming oversized roots if needed.
- ● Garden gloves: To protect your hands from rough roots and soil.
- ● Soil test kit: To check pH and nutrient levels in the new location.
- ● Tree support collar: For young or top-heavy trees (e.g., willows or fruit trees).
Step-by-step instructions for moving a small tree safely
Here's my foolproof method for transplanting young trees without shocking their roots.
🪴 Step 1: Prepare the New Location First
Choose a spot with similar light conditions to where the tree currently grows. Small trees need 6-8 feet of clearance from structures and other plants to develop properly. Dig the new hole twice as wide as the root ball but only as deep as the existing root system—never deeper, or you'll bury the trunk too much.
Loosen the soil at the bottom of the hole with a shovel or your hands. This breaks up compacted layers so roots can spread easily. Mix in 2-3 inches of compost from your materials list into the native soil at the hole's base. This gives roots a nutrient boost right where they'll first establish.
✂️ Step 2: Prune and Protect the Root Ball
Water the tree deeply 1-2 days before moving to encourage roots to extend outward. On moving day, use a sharp spade to cut a clean circle around the tree, 6-12 inches from the trunk depending on the tree's size. Larger root balls handle transplanting better. Gently lift the tree while keeping the root ball intact—wrap the root ball in burlap or a tarp if it's fragile.
Here's the thing—trim any circling roots you find. These roots grow in tight loops around the trunk and strangle themselves after transplanting. Cut them away with clean pruners. Also, prune 1/3 of the tree's canopy to reduce stress. You'll see new growth fill in within a season.
💧 Step 3: Plant with Proper Support and Watering
Lower the tree into the prepared hole and position it so the top of the root ball sits 1-2 inches above ground level. This prevents the trunk from settling too deeply over time. Fill around the root ball with the native soil you removed, tamping gently every 2 inches to eliminate air pockets. Never pack the soil—roots need air to breathe.
Create a watering basin by mounding soil outward around the base. This directs water straight to the roots. Water deeply right after planting—enough so water runs out the bottom of the hole. Add 2-3 inches of mulch over the soil surface, keeping it 6 inches away from the trunk to prevent rot. Water again after mulching.
Tips & tricks for stress-free small tree transplanting
Moving a small tree doesn't have to be a gamble—these simple tricks help ensure your tree thrives in its new home.
Soil Prep Secret: When loosening the soil at the bottom of the new hole, go beyond just breaking up clumps. Use your hands to create a loose, almost crumbly texture—this mimics natural soil conditions and helps roots spread faster. The 2-3 inches of compost you mix in should be worked into the bottom third of the hole, not just scattered on top. This creates a nutrient-rich zone right where new roots will establish first.
Root Ball Rescue: If you're moving a tree with a fragile root ball, here's what nobody tells you—wrap it in damp burlap or a tarp before lifting. This prevents the root ball from drying out or breaking apart during the move. For trees with delicate roots, consider using a root ball basket or even a large plastic bag cut open to encase the root ball temporarily during transport. Just remember to remove any wrapping material before planting.
Canopy Care: Pruning 1/3 of the tree's canopy might seem drastic, but it's one of the best ways to reduce transplant shock. Focus on removing smaller branches first—this helps the tree redirect its energy to root growth rather than supporting a full canopy. After pruning, give the tree a light misting with water to help it recover faster. You'll notice new growth filling in within a few months.
Watering Wisdom: That first deep watering after planting is crucial—aim for about 5 gallons of water for a small tree. The water should run out the bottom of the hole, indicating it's reached the roots. Create a watering basin by mounding soil outward around the base, but don't let it touch the trunk. This simple technique ensures water goes straight to the roots where it's needed most. After mulching, water again to help settle the mulch and create good soil contact.
Pro Tips for Relocate A Small Tree
- Moving a small tree doesn't have to be a gamble—these simple tricks help ensure your tree thrives in its new home.
- Soil Prep Secret: When loosening the soil at the bottom of the new hole, go beyond just breaking up clumps.
- Root Ball Rescue: If you're moving a tree with a fragile root ball, here's what nobody tells you—wrap it in damp burlap or a tarp before lifting.
Frequently asked questions
Got questions about moving your small tree? You’re not alone—relocating plants can feel tricky! Here are some of the most common concerns and straightforward answers to help you tackle the job with confidence.
When is the best time of year to relocate a small tree?
The ideal window is late fall to early spring—when the tree is dormant. This minimizes stress, as roots aren’t actively growing, and the tree can focus on establishing itself in its new home. Avoid transplanting during extreme heat or cold, as these conditions can shock the tree. If you must move it in summer, do so on a cloudy day or water thoroughly beforehand.
How do I know if my tree is healthy enough to relocate?
Look for vibrant leaves, minimal pest damage, and a sturdy trunk without cracks or oozing sap. Avoid moving trees with yellowing foliage, wilting branches, or root rot—these signs indicate poor health. If in doubt, consult a local nursery or arborist to assess the tree’s condition before digging. A healthy tree has a much higher chance of thriving in its new location!
Can I relocate a small tree on my own, or do I need professional help?
For trees under 6–8 feet tall with a trunk diameter of 2–3 inches, DIY relocation is totally doable with the right tools (like a tree spade or burlap wrap). Larger or mature trees may require a professional arborist to avoid root damage or structural stress. If your tree has deep roots or is near structures, err on the side of caution and call an expert.
How often should I water my tree after transplanting?
Water deeply every 2–3 days for the first 2 weeks, then taper to once a week (adjust based on weather). The goal is to keep the soil consistently moist but not soggy. Mulch around the base (2–4 inches deep) to retain moisture and protect roots. Overwatering can suffocate roots, so always check soil moisture before adding more water—stick your finger 2 inches down; if it’s dry, it’s time to water.
What should I do if my tree’s leaves turn brown or wilt after moving?
Don’t panic! Brown or wilting leaves often signal transplant shock, which is normal but temporary. Trim any severely damaged leaves to redirect energy to root growth. Increase watering slightly (if soil is dry) and avoid fertilizing for at least 4–6 weeks. If symptoms persist beyond 2 months, check for root rot, pests, or improper pruning—adjust care accordingly.
Wrapping up and next steps
Relocating a small tree doesn’t have to be a daunting task—with the right tools, timing, and care, you can give your tree a fresh start and keep it thriving! 🌱 Remember to dig carefully, prune strategically, and water consistently to minimize stress.
The key is patience and preparation, so take your time and celebrate each step.
Now that you’re ready to act, mark your calendar for the best transplanting window (early spring or fall) and gather your supplies. Ready to give your tree a new home? Get out there and make it happen! 🌿