
Pruning
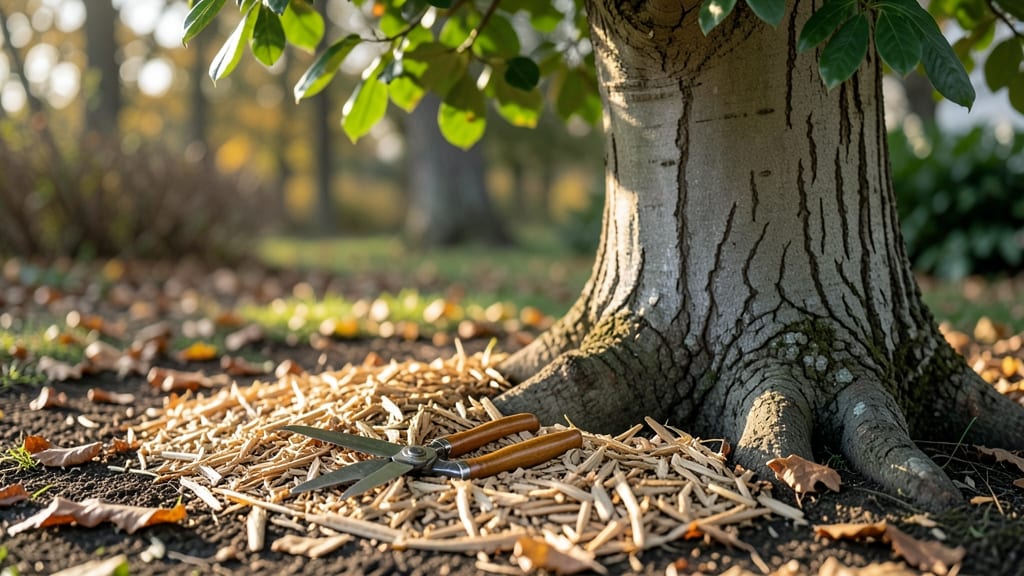
Big tree pruning isn't just about trimming branches—it's about preserving the life of your towering backyard giants for decades to come. I learned this the hard way when my 30-year-old oak started shedding limbs after a winter storm, and I realized how little I understood about proper care.
The right cuts at the right time can transform a struggling tree into a thriving, structurally sound centerpiece of your landscape.
You'll need the right tools first: sharp pruning saws for thick branches, loppers for medium limbs, and gloves rated for heavy-duty work—because big tree pruning isn't a job for delicate hands.
Safety comes first, so bring a hard hat, eye protection, and a sturdy ladder rated for your tree's height.
The best time to prune varies by species, but late winter or early spring, when the tree is dormant but before new growth starts, is ideal for most mature trees.
What you'll achieve is a tree that's stronger, healthier, and safer for your property. Proper cuts promote better air circulation, reduce disease risk, and encourage new growth in the right places.
You'll see fewer broken limbs in storms, less risk of branches falling on roofs or cars, and a tree that looks more balanced and intentional in your landscape. The key is making clean cuts just outside the branch collar—not too close, not too far.
This approach works for oaks, maples, pines, and other large trees, though some species like elms need special care to prevent disease spread. If your tree is over 50 feet tall or has significant rot, it's time to call a professional arborist.
For most homeowners, though, learning these basics will save you money and keep your trees standing strong for generations.
📚 In This Guide
- What you need
- Instructions
- Tips and common mistakes
- Wrapping up and next steps
What you need
- ● Pruning saw: A sharp, bow saw (20–24" blade) or pruning saw for thick branches (1–3" diameter). Pro tip: 🔥 Test sharpness on a scrap branch—dull blades tear wood, not cut!
- ○ Loppers: Heavy-duty bypass loppers (20–24" handles) for branches up to 2" thick. Optional: Pole-mounted loppers for hard-to-reach cuts.
- ● Pruning shears: For small, precise cuts (up to ½" diameter). Bonus: Bypass blades prevent crushing.
- ● Rope (100–150 ft): Static-knot rope (½" thick) for lowering branches or securing yourself.
- ● Harness & safety line: Full-body arborist harness (rated for 360° fall protection) + shock-absorbing lanyard.
- ● Hard hat & gloves: Heavy-duty leather gloves (cut-resistant) + ANSI-rated hard hat.
- ○ Ladder or lift: Extendable ladder (20–30 ft) or optional: hydraulic lift for trees over 30 ft.
- ● First-aid kit: Include antiseptic wipes, bandages, and a tourniquet for emergencies.
- ● Pole saw: For high branches without climbing.
- ● Tree wound dressing: Pruning sealant (controversial but useful for large cuts >4" diameter).
- ● Chainsaw (with safety gear): For very thick branches (3"+). ⚠️ Warning: Only use if trained!
- ● Binoculars: To inspect hard-to-see areas before climbing.
- ● Weather check: Avoid pruning during wet conditions or high winds.
Instructions for pruning big trees safely and effectively
Here’s the straightforward approach I’ve used for decades—no special tools beyond basics, just precise cuts that keep trees thriving for years.
Identify the Right Branches to Remove
Start by scanning the tree for branches that fit these four categories: dead, diseased, crossing, or overcrowded. Dead branches are brittle and snap easily when bent—these are your first targets. Diseased branches often have discolored bark, fungal growth, or oozing sap. Crossing branches rub against each other, creating wounds where pests and rot can enter.
Next, look for branches growing straight upward (called "water sprouts") or those that block sunlight from reaching the lower canopy. These compete with the tree’s structure and should be pruned back to a healthy lateral branch. I always work from the bottom up—this way, I don’t accidentally damage higher branches while standing on a ladder.
Use Proper Cutting Techniques for Clean Wounds
For branches under 2 inches thick, make a single cut just outside the branch collar—the swollen area where the branch meets the trunk. Angle the cut slightly downward to allow water to shed. If the branch is larger than 2 inches, start with an undercut about 12 inches out from the trunk, then make a second cut to remove the branch. Finally, clean up the stub with a third cut just outside the collar.
Never leave a stub—it’s an open wound that invites decay. And never cut flush with the trunk; this removes the tree’s natural healing tissue. If you’re unsure where the collar is, trace the branch’s outline with your finger—it’ll guide you to the right spot. I always sharpen my pruners before starting; dull blades tear wood, which slows healing.
Time Your Cuts for Seasonal Health
Late winter or early spring, just before new growth begins, is the best time to prune most big trees. This timing gives the tree time to heal before summer stress. Avoid pruning in fall—new growth stimulated by late-season cuts won’t harden off before winter, making it vulnerable to cold damage. For oaks and related species, prune in dormant season to prevent oak wilt disease.
If you must prune in summer, do it gradually over several sessions to reduce stress. Remove no more than 25% of the tree’s canopy at one time—this keeps the tree’s energy focused on healing rather than supporting excessive new growth. Watch for sap flow; heavy bleeding usually means you’ve made a cut too large for the tree to seal quickly.
Clean Up and Monitor for Recovery
After pruning, remove all debris from the ground—this prevents fungal spores from infecting fresh wounds. Disinfect your tools with a 10% bleach solution (1 part bleach to 9 parts water) between cuts if you’re working on a diseased tree. I also like to spread a thin layer of wound dressing (like Tanglefoot Tree Wound Pruning Sealer) on larger cuts to protect them from pests and moisture.
In the weeks following pruning, keep an eye on the tree’s reaction. Healthy new growth should appear within 4-6 weeks, and any pruning wounds should start to callus over. If you notice oozing sap, wilting leaves, or unusual discoloration, the cuts may have been too severe or the tree was already stressed. In that case, reduce watering slightly to help it recover.
Maintain Long-Term Tree Health
Pruning isn’t a one-time job—big trees need regular check-ins to stay healthy. I schedule a light maintenance prune every 2-3 years for mature trees, focusing on removing only the most problematic branches. This keeps the tree’s energy balanced and prevents over-pruning, which weakens the structure over time.
Pay attention to the tree’s natural shape. If it’s growing too wide or top-heavy, you may need to thin out the canopy by selectively removing branches from the top and sides. Avoid "heading back" (cutting back to a stub) unless you’re encouraging bushier growth in shrubs—it stresses trees and leads to weak, disease-prone regrowth. Instead, always prune back to a lateral branch or the collar.
Tips & tricks for perfect big tree pruning
Real talk: Pruning big trees feels intimidating, but these tricks will help you cut with confidence—and keep your trees thriving for decades. The difference between a healthy tree and one that struggles often comes down to these details.
Branch Identification Shortcut: In Step 1, when scanning for branches to remove, use the "thumb test" for dead branches—gently bend a small twig. If it snaps cleanly with no green inside, it's dead and ready for removal. For diseased branches, look for mushrooms growing at the base or bark that peels away like sunburned skin. I've saved many trees by catching these signs early, before the disease spreads.
Cutting Technique Pro Tip: When making that second cut in Step 2 for branches over 2 inches thick, position your saw or pruners just outside the branch collar but angle slightly upward toward the trunk. This creates a natural slope that sheds water away from the wound, reducing rot risk. I learned this the hard way after seeing too many trees develop fungal infections from improper cuts.
Seasonal Timing Hack: For most trees, late winter or early spring is ideal, but if you must prune in summer, split your work into two sessions spaced at least two weeks apart. This gives the tree time to adjust between cuts. I once pruned a mature oak in one summer session and watched it struggle with stress for years—don't make that mistake.
Recovery Monitoring: After pruning, mark the date on your calendar and check for new growth at the 4-6 week mark mentioned in Step 4. Healthy trees will show fresh buds or leaves near the pruning cuts. If you see only wilting or no new growth, the cuts may have been too severe—reduce watering slightly to help the tree redirect energy to healing.
Pro Tips for Big Tree Pruning
- Real talk: Pruning big trees feels intimidating, but these tricks will help you cut with confidence—and keep your trees thriving for decades.
- Branch Identification Shortcut: In Step 1, when scanning for branches to remove, use the "thumb test" for dead branches—gently bend a small twig.
- Cutting Technique Pro Tip: When making that second cut in Step 2 for branches over 2 inches thick, position your saw or pruners just outside the branch collar but angle slightly upward toward the trunk.
Frequently asked questions
Got questions about big tree pruning? You’re not alone!
Here are answers to the most common concerns—from timing to tools—to help you prune like a pro.
What’s the best time of year to prune big trees?
The ideal window is late winter to early spring (just before buds break), when trees are dormant but pests are less active. Avoid heavy pruning in fall—it stresses trees before winter. Exception: Remove dead/diseased branches anytime for safety!
Can I prune a big tree myself, or should I hire a pro?
Small cuts (under 4 inches thick) and low branches? DIY with proper tools! For large limbs, overhead branches, or mature trees, hire an ISA-certified arborist. Pro tip: Never use a ladder for heavy branches—falling limbs are a real risk.
How do I know which branches to cut?
Focus on:
- Dead/dying branches (snaps easily, no leaves)
- Crossing or rubbing branches (creates wounds)
- Water sprouts (fast-growing vertical shoots)
- Low-hanging limbs (blocking sunlight/structures)
What if my tree starts bleeding sap after pruning?
Sap oozing is normal for 2–4 weeks—it’s the tree’s way of sealing wounds. To minimize mess:
- Prune in dry weather (rain dilutes sap)
- Avoid pruning oak trees in spring (increases beetle infestations)
- Apply pruning sealant only on cuts over 2 inches wide (controversial but helpful for large wounds).
Are there alternatives to pruning for tree health?
Pruning is key for safety/structure, but you can supplement with:
- Mulching (3–4 inches deep, keep 6” from trunk)
- Deep watering (1–2 inches/week, especially young trees)
- Fertilizing (test soil first—overdoing it harms roots!)
- Avoiding soil compaction near roots (use mulch, not rocks).
Wrapping up and next steps
Big tree pruning isn’t just about aesthetics—it’s a vital investment in your tree’s health, safety, and longevity. 🌳 By following seasonal best practices, using the right tools, and prioritizing safety, you’ll help your trees thrive for decades to come.
Whether you’re tackling it yourself or hiring a pro, the key is consistency and care.
Ready to give your big trees the TLC they deserve? Start small—assess one tree at a time, gather your tools, and schedule your first pruning session this season. Your future self (and your trees!) will thank you. 🌿