
Pruning
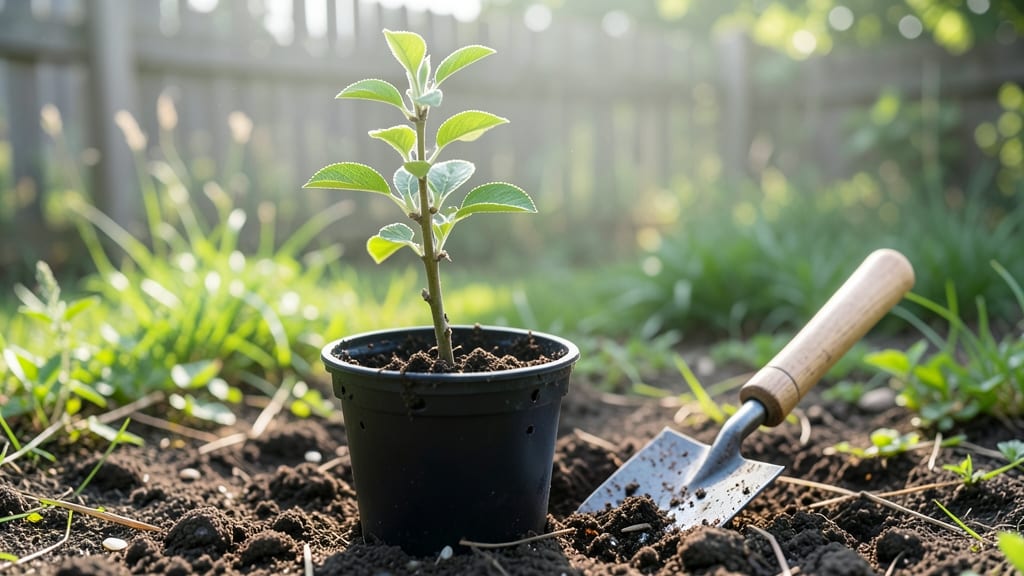
That unexpected apple tree sprout in your yard could become the start of something extraordinary—if you nurture it right. I’ve watched wild saplings transform into thriving trees with proper care, and the secret lies in understanding their natural growth patterns rather than forcing them into a mold.
The key is patience: a well-tended sprout can produce fruit within 3-5 years, but only if you give it the right conditions from the start.
You’ll need well-draining soil, full sun (6+ hours daily), and consistent moisture without soggy roots—think of it as giving your tree a strong foundation, like building a house. Pruning young branches in late winter encourages a sturdy structure, and mulching keeps moisture locked in while suppressing weeds.
The first year is all about establishing roots, so avoid heavy pruning until the tree has a few years under its belt.
By summer, you’ll see lush, dark green leaves signaling healthy growth, and with proper care, that sprout could become a fruit-bearing tree within a decade. The best part?
Wild apple trees often have disease resistance built in, meaning fewer pesticides and more natural beauty in your landscape. Let’s turn that sprout into a thriving centerpiece.
Whether you’re working with a backyard sapling or a container-grown sprout, the principles stay the same—adjust for space and climate. Next, we’ll cover the step-by-step care routine that keeps your tree growing strong year after year, no matter where you live.
📚 In This Guide
- What you need
- Instructions
- Tips and common mistakes
- Wrapping up and next steps
What you need
- ● Pruning shears: Bypass pruners (sharp, clean, and sterilized with rubbing alcohol or bleach solution—1 pair).
- ● Loppers: For thicker branches (up to 2 inches in diameter—1 pair).
- ● Hand pruners: For delicate cuts on small sprouts (1 pair).
- ● Pruning saw: For stubborn, woody growth (1, with a fine-tooth blade).
- ● Garden gloves: Cut-resistant, durable pair (1-2 for protection).
- ● Disinfectant: 1-part bleach to 9 parts water (small spray bottle) to prevent disease spread.
- ● Twine or tree tape: For wrapping cuts on larger branches (1 roll).
- ● Marking spray or paint: To tag branches for future reference (small bottle).
- ● Bucket or bag: For collecting pruned branches (1).
- ● Pruning sealant: For sealing large cuts (e.g., Tanglefoot Tree Wound Pruning Seal).
- ● Extension pole: For high branches (adjustable, 6-10 feet).
- ● Notebook or app: To log pruning notes (e.g., iNaturalist or a simple journal).
- ● Safety goggles: If working near the ground or in windy conditions.
- ● Ladder: Sturdy, 24-32 feet, with non-slip steps for tall trees.
Step-by-step instructions for cultivating a thriving apple tree sprout
Here's how to nurture a robust apple tree from a young sprout to a vigorous young tree.
🌱 Step 1: Select and Prepare the Optimal Planting Site
Choose a location with full sun exposure (6-8 hours daily) and well-draining soil with a pH between 6.0 and 7.0. Apple tree sprouts thrive in slightly acidic to neutral soil, so test your soil before planting. If your soil is too dense or compacted, amend it with 2-3 inches of compost mixed into the top 12 inches of soil.
Dig a planting hole that's twice as wide as the root ball but only as deep as the container the sprout came in. This prevents burying the graft union too deeply, which can lead to weak growth or disease. If your sprout is bare-root, soak the roots in lukewarm water for 1-2 hours before planting to ensure they're hydrated and pliable.
🌿 Step 2: Plant and Stake for Stability
Gently remove the sprout from its container and loosen any circling roots with your fingers. Position the tree in the hole so the graft union (the swollen area near the base) is 2-3 inches above soil level. This ensures the tree develops a strong root system while protecting the graft from soil-borne diseases.
Backfill the hole with native soil, pressing lightly around the roots to eliminate air pockets. Water deeply to settle the soil and encourage root contact. Install a stake at least 2 feet tall and tie the tree to it with soft tree ties—never use wire or anything that can cut into the bark as the tree grows. This provides support without restricting growth.
☀️ Step 3: Maintain Proper Watering and Fertilization
Water the newly planted sprout deeply once a week during the first growing season, ensuring the soil is moist 6 inches down. Overwatering can lead to root rot, so always check moisture levels before watering—soil should feel damp but not soggy. Mulch around the base with 2-3 inches of organic mulch, keeping it 6 inches away from the trunk to prevent rot.
Fertilize in early spring with a balanced, slow-release fertilizer (10-10-10) at half the recommended rate. This encourages strong root and canopy growth without overwhelming the young tree. Avoid high-nitrogen fertilizers, which promote leafy growth at the expense of fruit production. Monitor the tree for signs of nutrient deficiency, such as yellowing leaves or stunted growth, and adjust fertilization accordingly.
✂️ Step 4: Prune for Structure and Health
Prune your apple tree sprout during dormancy (late winter or early spring) to establish a strong framework. Remove any dead, diseased, or crossing branches, cutting just above a bud or outward-facing branch. This opens the canopy to sunlight and air circulation, reducing the risk of fungal diseases.
Focus on shaping the tree into an open-center or central leader form, depending on the variety. For dwarf varieties, keep the height under 6 feet to make harvesting easier. Thin out water sprouts (vigorous vertical shoots) as they appear—these compete with fruit-bearing branches for nutrients. Always use clean, sharp pruners to make smooth cuts and avoid tearing the bark.
Tips & tricks for cultivating a thriving apple tree sprout
These insights will help you avoid common pitfalls and give your young apple tree the best possible start toward a healthy, productive life.
Soil Preparation Insight: When amending your soil with 2-3 inches of compost, mix it thoroughly into the top 12 inches of soil to create a loose, aerated environment. This prevents compaction and encourages root penetration. I've found that adding a handful of perlite or coarse sand to the mix improves drainage even further, especially in clay-heavy soils. The goal is to mimic the natural forest floor environment where apple trees thrive.
Graft Union Placement: The 2-3 inches above soil level for the graft union is critical—this protects it from potential rot while allowing the root system to develop properly. I recommend marking this spot with a small flag or paint marker immediately after planting so you can verify its position as the tree grows. This simple step prevents future issues with weak growth or disease susceptibility at the graft junction.
Watering Strategy: The once-weekly deep watering during the first growing season is perfect, but timing matters. Water in the early morning so the foliage has time to dry before evening, reducing fungal risks. I also recommend using a moisture meter to verify that water reaches 6 inches down—this ensures your tree isn't just getting surface hydration. A soaker hose placed at the drip line gives more consistent moisture than overhead watering.
Pruning Technique: When shaping your tree into an open-center or central leader form, focus on creating a balanced structure with branches spaced evenly around the trunk. I've learned that making cuts just above a bud or outward-facing branch encourages better regrowth. For dwarf varieties, keep in mind that maintaining a height under 6 feet will make future harvesting much more manageable—this is especially important if you plan to grow multiple trees in a small space.
Pro Tips for Apple Tree Sprout
- These insights will help you avoid common pitfalls and give your young apple tree the best possible start toward a healthy, productive life.
- Soil Preparation Insight: When amending your soil with 2-3 inches of compost, mix it thoroughly into the top 12 inches of soil to create a loose, aerated environment.
- Graft Union Placement: The 2-3 inches above soil level for the graft union is critical—this protects it from potential rot while allowing the root system to develop properly.
Frequently asked questions
about apple tree sprouts—your go-to guide for troubleshooting, timing, and care!When is the best time to prune apple tree sprouts?
The ideal time to prune apple tree sprouts is late winter or early spring (before buds swell) or summer after harvest. Avoid pruning in fall—it can leave wounds vulnerable to disease. For water sprouts (fast-growing vertical shoots), prune them anytime they appear to redirect energy to fruit production.
How do I tell the difference between a water sprout and a fruit spur?
Water sprouts are long, thin, and vertical, growing straight up from branches or the trunk. Fruit spurs, on the other hand, are short, stubby, and horizontal, packed with flower buds. Prune water sprouts aggressively, but never cut fruit spurs—they’re your tree’s future fruit!
Can I use a sprout from my apple tree to grow a new tree?
Yes! You can propagate a new apple tree from a healthy sprout using layering or grafting. For layering, bend a low-growing branch to the ground, bury part of it, and wait for roots to form. Grafting (attaching a sprout to a rootstock) is more advanced but ensures the new tree stays true to the parent’s variety. Pro tip: Sterilize tools to prevent disease!
Why are my apple tree sprouts dying after pruning?
If sprouts wilt or die post-pruning, you might’ve cut too close to the branch collar (the swollen area where the sprout meets the branch). Always leave a small stub (about ¼ inch) and cut at a 45-degree angle. Over-pruning or using dull tools can also stress the tree. If in doubt, prune lightly and monitor for new growth.
Will removing sprouts reduce my apple harvest?
Not if done correctly! Pruning water sprouts actually improves fruit quality and yield by redirecting the tree’s energy to existing branches and fruit spurs. However, over-pruning (removing >25% of the canopy at once) can stress the tree. Balance is key—aim to remove only competitive or weak sprouts while preserving the tree’s structure.
Wrapping up and next steps
Growing a thriving apple tree starts with understanding those tiny sprouts that hold big potential! 🌱 By mastering the right tools, timing, and techniques—like pruning for airflow and nurturing new growth—you’re setting your tree up for a lush, fruit-bearing future.
Remember, patience and consistency are key, but the rewards (literally!) are sweet.
Ready to take action? Grab your pruners and schedule your first maintenance session this season. Whether you’re trimming a young sapling or shaping a mature canopy, every cut brings you closer to a bountiful harvest. Here’s to your flourishing orchard—one sprout at a time! 🍏✨