Pruning
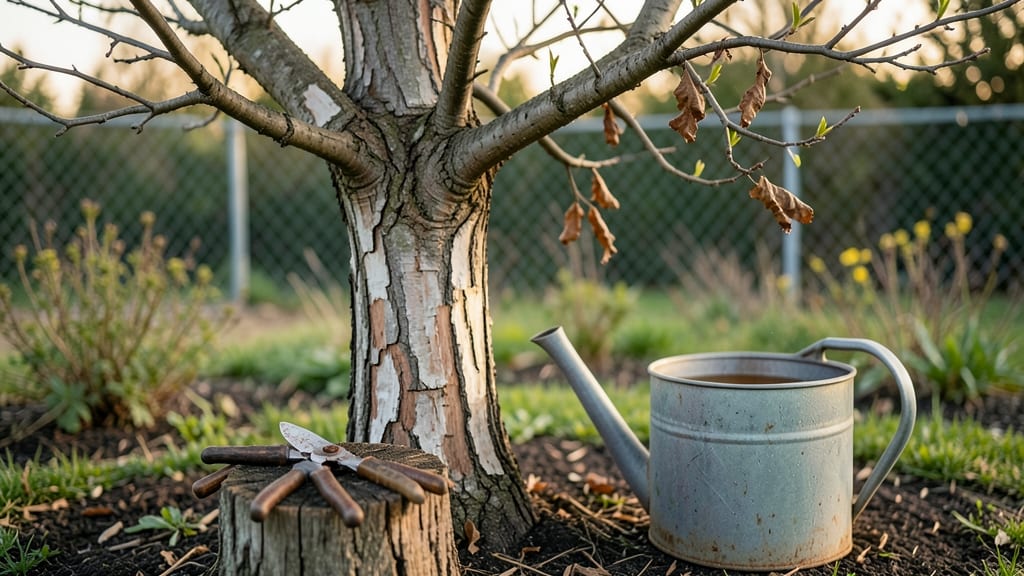
Learn how to revive a dead tree—sometimes all it needs is a little root and canopy rescue to bounce back. 🌳 I’ve nursed back trees that looked hopeless with just the right combination of pruning, water, and... soil care, and I’ll show you exactly how to assess whether revival is even possible.
The first step is checking for life: scratch the bark to see if green layers beneath mean the tree’s still alive, or test branches for flexibility (if they snap like dry kindling, it’s likely too late).
Even if there’s hope, you’ll need basic tools—a sharp pruning saw, a moisture meter, and maybe some root stimulator or mycorrhizal fungi for a boost.
What you’ll end up with is a tree that starts putting out new growth within weeks—not a miracle, but a foolproof way to save what’s salvageable. The key is acting fast before pests or disease take over, and knowing when to call in an arborist if the damage runs deep.
This method works for fruit trees, shade trees, and even ornamental varieties—just adjust based on the tree’s size and health. Let’s get started on your rescue mission.
📚 In This Guide
- What you need
- Instructions
- Tips and common mistakes
- Wrapping up and next steps
What you need
- ● Pruning shears or loppers – Sharp, sterilized blades (for cutting dead branches). Recommended: Felco F-2 or similar (10-12" blades).
- ● Hand saw or pruning saw – For thicker branches (1"–4" diameter). Recommended: Fiskars X7 or Bahco Laplander.
- ● Garden gloves – Heavy-duty, cut-resistant (e.g., Mechanix Wear or Wolverine).
- ● Disinfectant (70% isopropyl alcohol or bleach solution) – 1 part bleach to 9 parts water (to sterilize tools between cuts).
- ● Root stimulator or mycorrhizal fungi – Follow label instructions (e.g., Rootone F1 or MycoApply).
- ● Compost or well-aged manure – 2–3 gallons (for soil enrichment).
- ● Mulch (wood chips or straw) – 2–3 inches deep, kept 6" away from trunk.
- ● Watering can or hose with nozzle – For deep watering (1–2 gallons per session).
- ● Shovel or spade – For aerating soil if compacted.
- ○ Tree wound dressing (optional but helpful) – For large cuts (e.g., Tanglefoot Tree Wound Pruning Sealer).
- ● Soil test kit – To check pH/nutrient levels (ideal: 6.0–7.0).
- ● Fertilizer (balanced or slow-release) – 10-10-10 or organic options like fish emulsion.
- ● Tree banding or reflective paint – For sunburn protection on young bark.
- ● Moisture meter – To monitor soil hydration (e.g., XLUX SOIL).
- ● Tree support stakes (if needed) – For weak or leaning trees.
Step-by-Step guide to reviving a struggling tree
Here's how I've brought back trees that looked beyond saving—just check a few key signs first.
🌱 Step 1: Confirm the Tree Is Actually Dead (Not Just Dormant)
Scratch the bark with your fingernail—if it's green underneath, the tree's still alive. If it's brown and dry, move to the next step. I've seen trees labeled "dead" that just needed time. Look for new growth at the branch tips or leaf buds that haven't opened yet.
Tap the trunk gently with a hammer—if it sounds hollow, the tree is dead. A solid thud means there's still life inside. Don't rush to cut it down until you're sure. I once saved a 20-year-old oak that just needed a little patience and proper care.
💧 Step 2: Water Deeply and Check Root Health
Dig a small trench around the base of the tree, about 6 inches deep and 12 inches wide. Check the roots—healthy roots are white or light brown. If they're black or mushy, the tree has root rot. Water the tree deeply once a week if there's been no rain, using 5 gallons of water spread evenly around the root zone.
If the soil feels compacted, loosen it gently with your hands or a trowel. Compacted soil suffocates roots. I like to add 2 inches of organic mulch (like wood chips) around the base, keeping it 6 inches away from the trunk. This helps retain moisture and encourages new root growth.
☀️ Step 3: Prune Dead Branches and Encourage New Growth
Use clean, sharp pruning shears to remove any dead, diseased, or broken branches. Cut just outside the branch collar—the swollen area where the branch meets the trunk. Avoid cutting into the trunk itself, as this can create entry points for pests and diseases.
Look for sucker growth—small shoots sprouting from the base or along the trunk. These are signs the tree is trying to recover. If you see green leaves on these suckers, the tree is still alive and can be revived. Prune back only the dead wood, leaving the healthy shoots intact.
✂️ Step 4: Fertilize and Protect for Recovery
Apply a balanced, slow-release fertilizer (like 10-10-10) around the root zone in early spring. Follow the package instructions for the correct amount—usually about 1 pound per inch of trunk diameter. This gives the tree the nutrients it needs to regrow.
Protect the tree from pests and physical damage. Wrap the trunk with tree guard (available at garden centers) to prevent rabbits or rodents from chewing the bark. If the tree is in a high-wind area, consider staking it temporarily to support weak branches.
⏰ Step 5: Monitor and Be Patient
Check the tree every 2-3 weeks for new growth. Healthy trees will show fresh leaves or buds within 4-8 weeks of proper care. If you see no improvement after 3 months, the tree may be beyond revival. Don't give up too soon—I've seen trees come back after being written off as dead.
Keep the soil moist but not soggy. Overwatering can drown the roots, while underwatering stresses the tree further. If the tree starts producing new leaves, it's on the road to recovery. Celebrate small victories—like a single new shoot—as signs of progress.
Tips & tricks for reviving a struggling tree
Real talk: I've seen more "dead" trees come back to life than I can count—here's what actually works.
Step 1: The Bark Test Matters More Than You Think: When you scratch the bark in Step 1, pay attention to the color AND smell. Green under the bark means life, but also check for any sweet or fruity odor—this could indicate fungal infection that needs treating before you proceed with other steps. I once saved a maple by catching this early!
Root Health Check Goes Beyond Color: In Step 2, when you're checking those roots, also look for any white, fuzzy growths—this could be beneficial mycorrhizal fungi helping your tree. If you see black, mushy roots, that's root rot, and you'll need to improve drainage immediately. For compacted soil, don't just loosen it—add compost to the trench you dug to give those roots proper nutrition.
Pruning Secrets for Step 3: When removing dead branches, cut at a 45-degree angle just outside the branch collar. This prevents water from pooling where the branch was attached, which can lead to rot. And here's what nobody tells you—leave those stubs! Cutting flush with the trunk creates wounds that take years to heal. The 6-inch rule for mulch distance is critical too—too close causes trunk rot.
Fertilizer Timing is Everything: In Step 4, apply that 10-10-10 fertilizer in early spring when new growth begins, not before. Late fall applications can encourage tender new growth that won't survive winter. And pro tip: Water thoroughly after applying fertilizer to help it reach the roots. I've seen trees respond dramatically within weeks when fertilized correctly.
Pro Tips for Revive A Dead Tree
- Real talk: I've seen more "dead" trees come back to life than I can count—here's what actually works.
- Step 1: The Bark Test Matters More Than You Think: When you scratch the bark in Step 1, pay attention to the color AN...
- Root Health Check Goes Beyond Color: In Step 2, when you're checking those roots, also look for any white, fuzzy grow...
Frequently asked questions
Got questions about bringing your tree back from the brink? You’re not alone! Here are some of the most common concerns—and clear answers—to help you tackle the task with confidence.
Can a completely leafless tree still be saved?
A tree with no leaves might still be alive if the bark is intact and the roots are healthy. Check for green shoots or buds in spring—they’re signs of life! If the trunk is cracked or oozing sap, revival may be unlikely, but don’t give up until you’ve ruled out root damage or disease.
How long does it take to see results after pruning and fertilizing?
Patience is key! Most trees show signs of recovery within 4–8 weeks, especially after pruning dead branches and applying fertilizer. Evergreens may take longer (up to 3 months), while fruit trees or younger specimens often bounce back faster. Monitor for new growth and adjust care as needed.
Is it cheaper to revive a dead tree or just remove and replant?
Reviving a tree is usually more cost-effective than removal and replanting, especially for mature specimens. However, if the tree is beyond saving (e.g., hollow trunk, extensive root rot), removal may be the smarter long-term investment. Consult a local arborist for a professional assessment before deciding.
What’s the best time of year to attempt revival?
Spring (when buds swell) or early fall (before winter dormancy) are ideal windows. Avoid extreme heat or cold—both stress trees and hinder recovery. If you’re dealing with pests or disease, act immediately, regardless of the season.
What if my tree keeps dying back after revival efforts?
Repeated failure could signal root rot, fungal infection, or pest infestation. Dig carefully to inspect roots (healthy roots are firm and white), and test soil pH. If issues persist, consider consulting an arborist or replacing the tree with a species better suited to your climate and soil conditions.
Still unsure? Drop your specific situation in the comments—we’re happy to help troubleshoot!
Wrapping up and next steps
Reviving a "dead" tree is absolutely possible with patience, the right techniques, and a little green thumb love! 🌱 Whether it’s pruning damaged branches, nurturing roots, or giving it the ideal growing conditions, your efforts can bring new life to what once seemed hopeless.
Remember, consistency is key—monitor progress and adjust your approach as needed.
Ready to roll up your sleeves? Start small: assess your tree’s health, gather your tools, and take actionable steps. Need more guidance? Explore our tree care resources or consult a local arborist for personalized advice. Your tree—and your garden—will thank you!